CollectionBuilder How-To
A step-by-step guide on how to create your own digital collection using CollectionBuilder-GH.
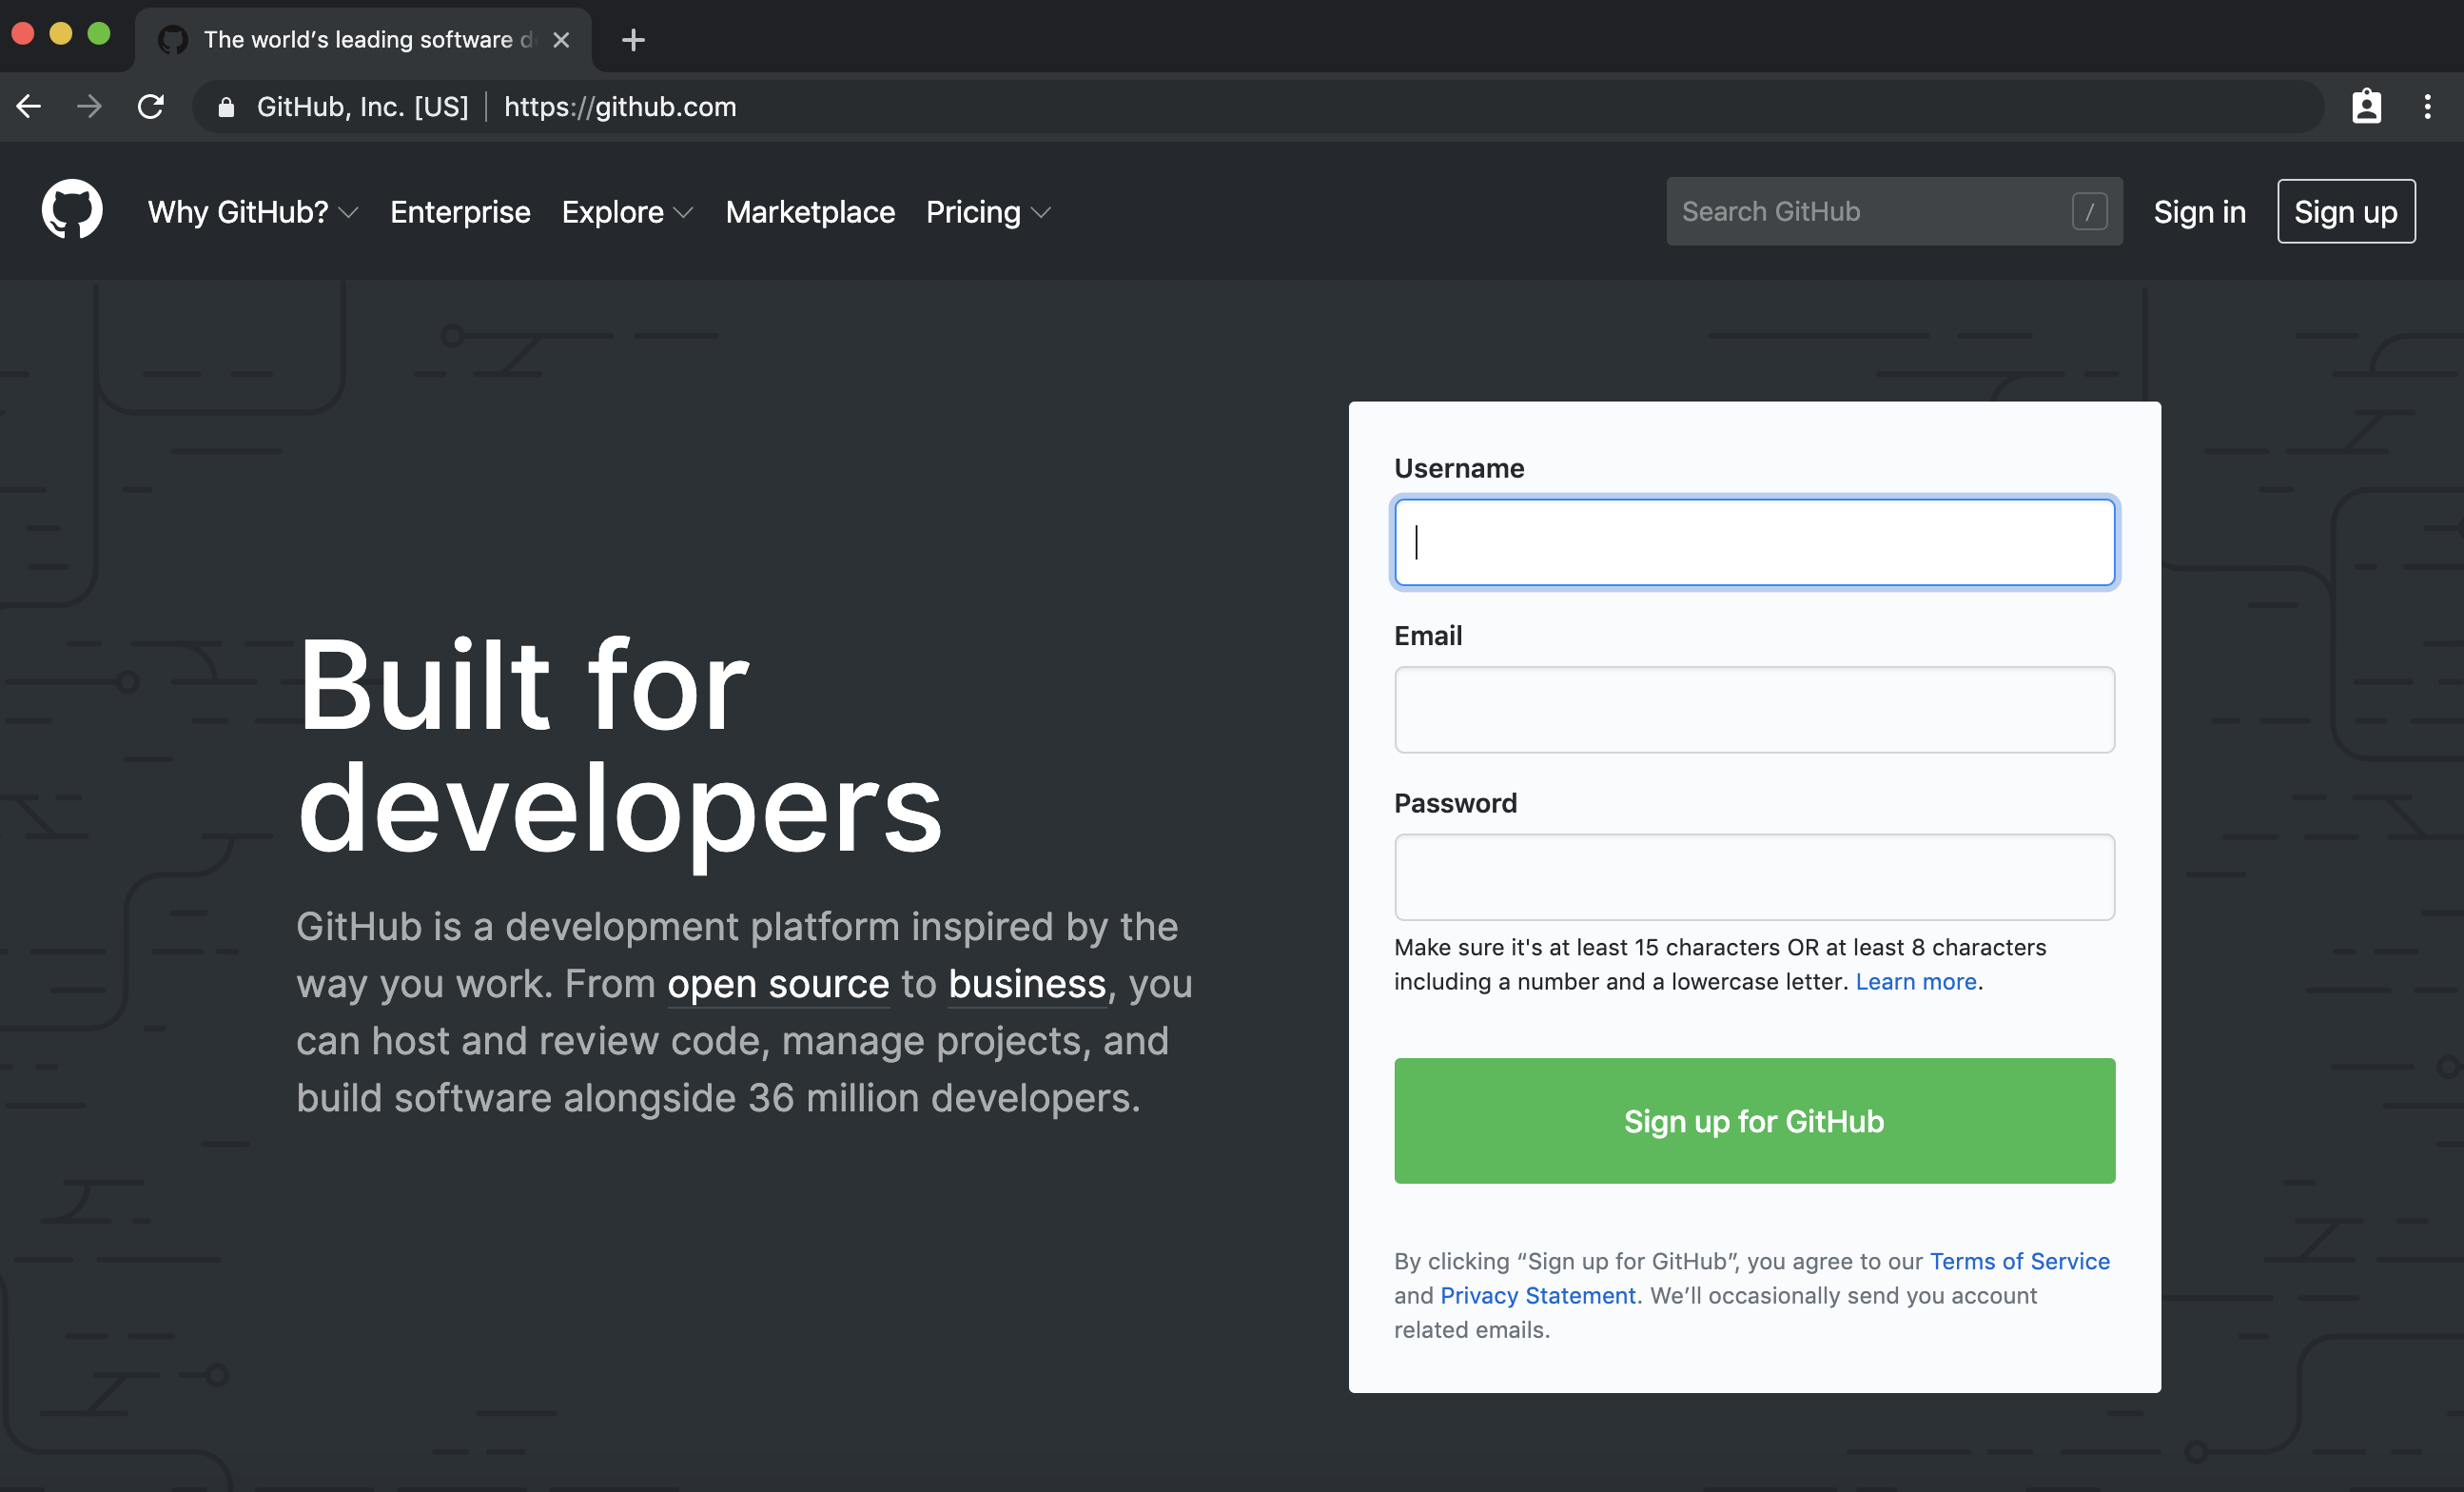
Sign up for GitHub at https://github.com/
Import the CollectionBuilder-GH repository
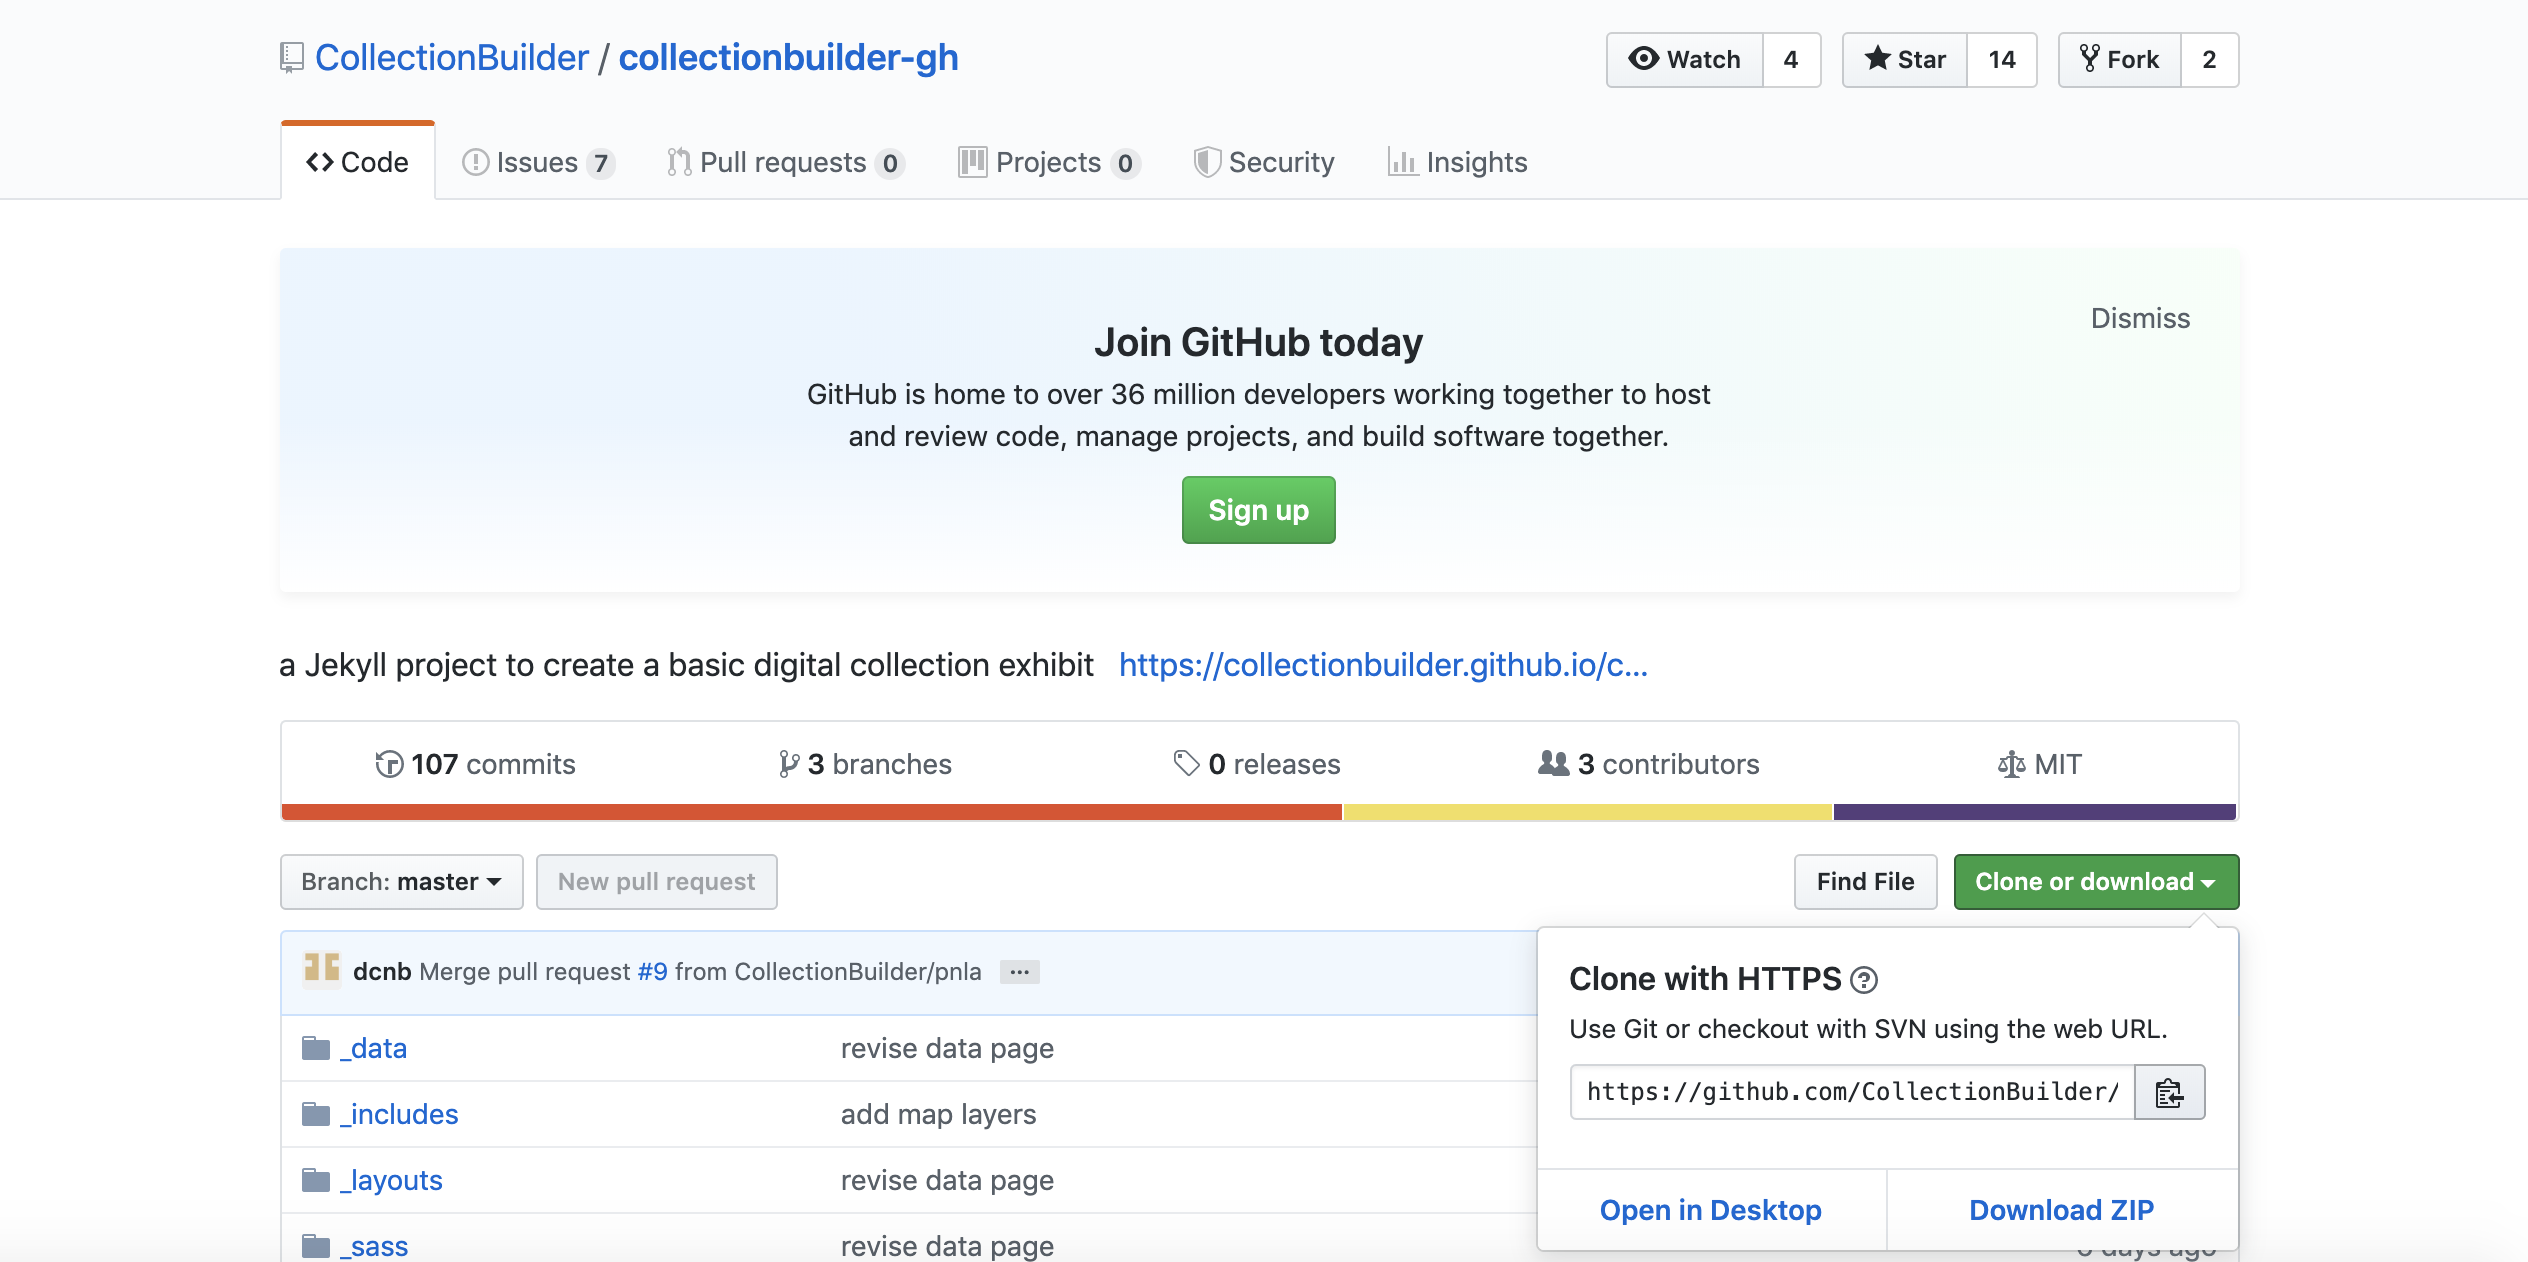
- Navigate to the CollectionBuilder repository.
- Click on the green “Clone or download” button.
- A “Clone with HTTPS” box will pop up. Click on the “copy to clipboard” icon to the right of the URL.
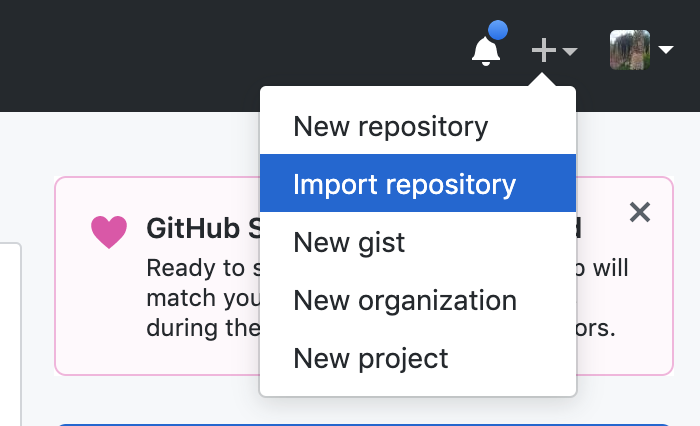
- Click on the
+sign in the top right corner. - Select “Import repository.”
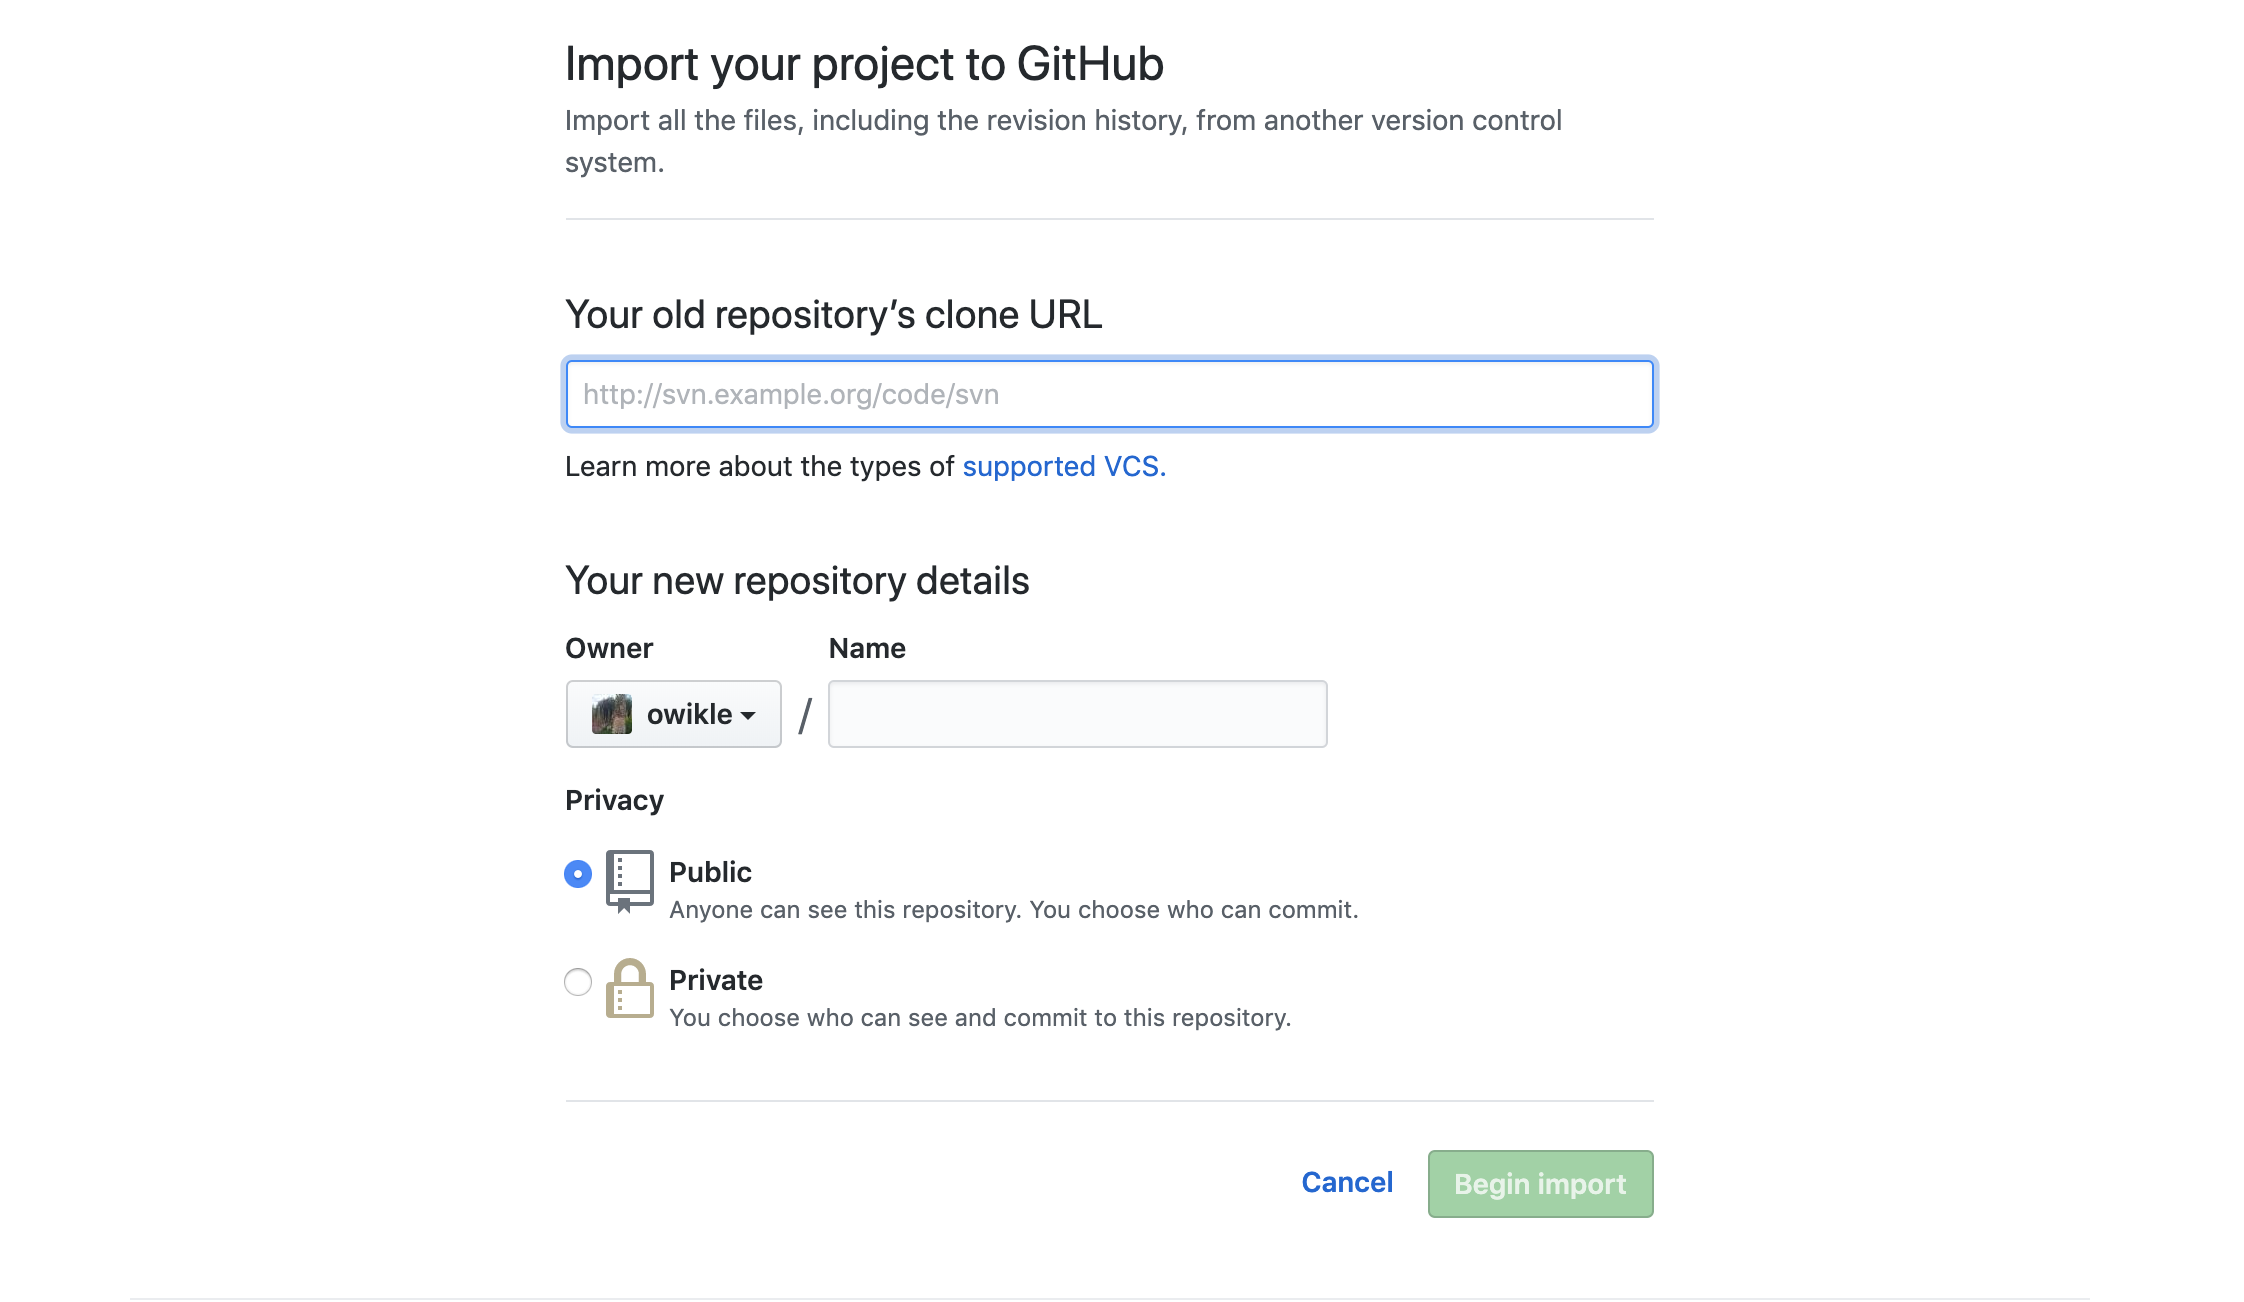
- Paste the URL you copied into the box that says “Your old repository’s clone URL.”
- Name your new repository, then select “Begin import.”
Gather your digital items
- Find some items you want to be in your collection! Currently, CollectionBuilder supports filetypes jpg, pdf, mp3, and has the capacity to embed YouTube videos.
- Drop your items into your repository’s
Objectsdirectory: - Click on
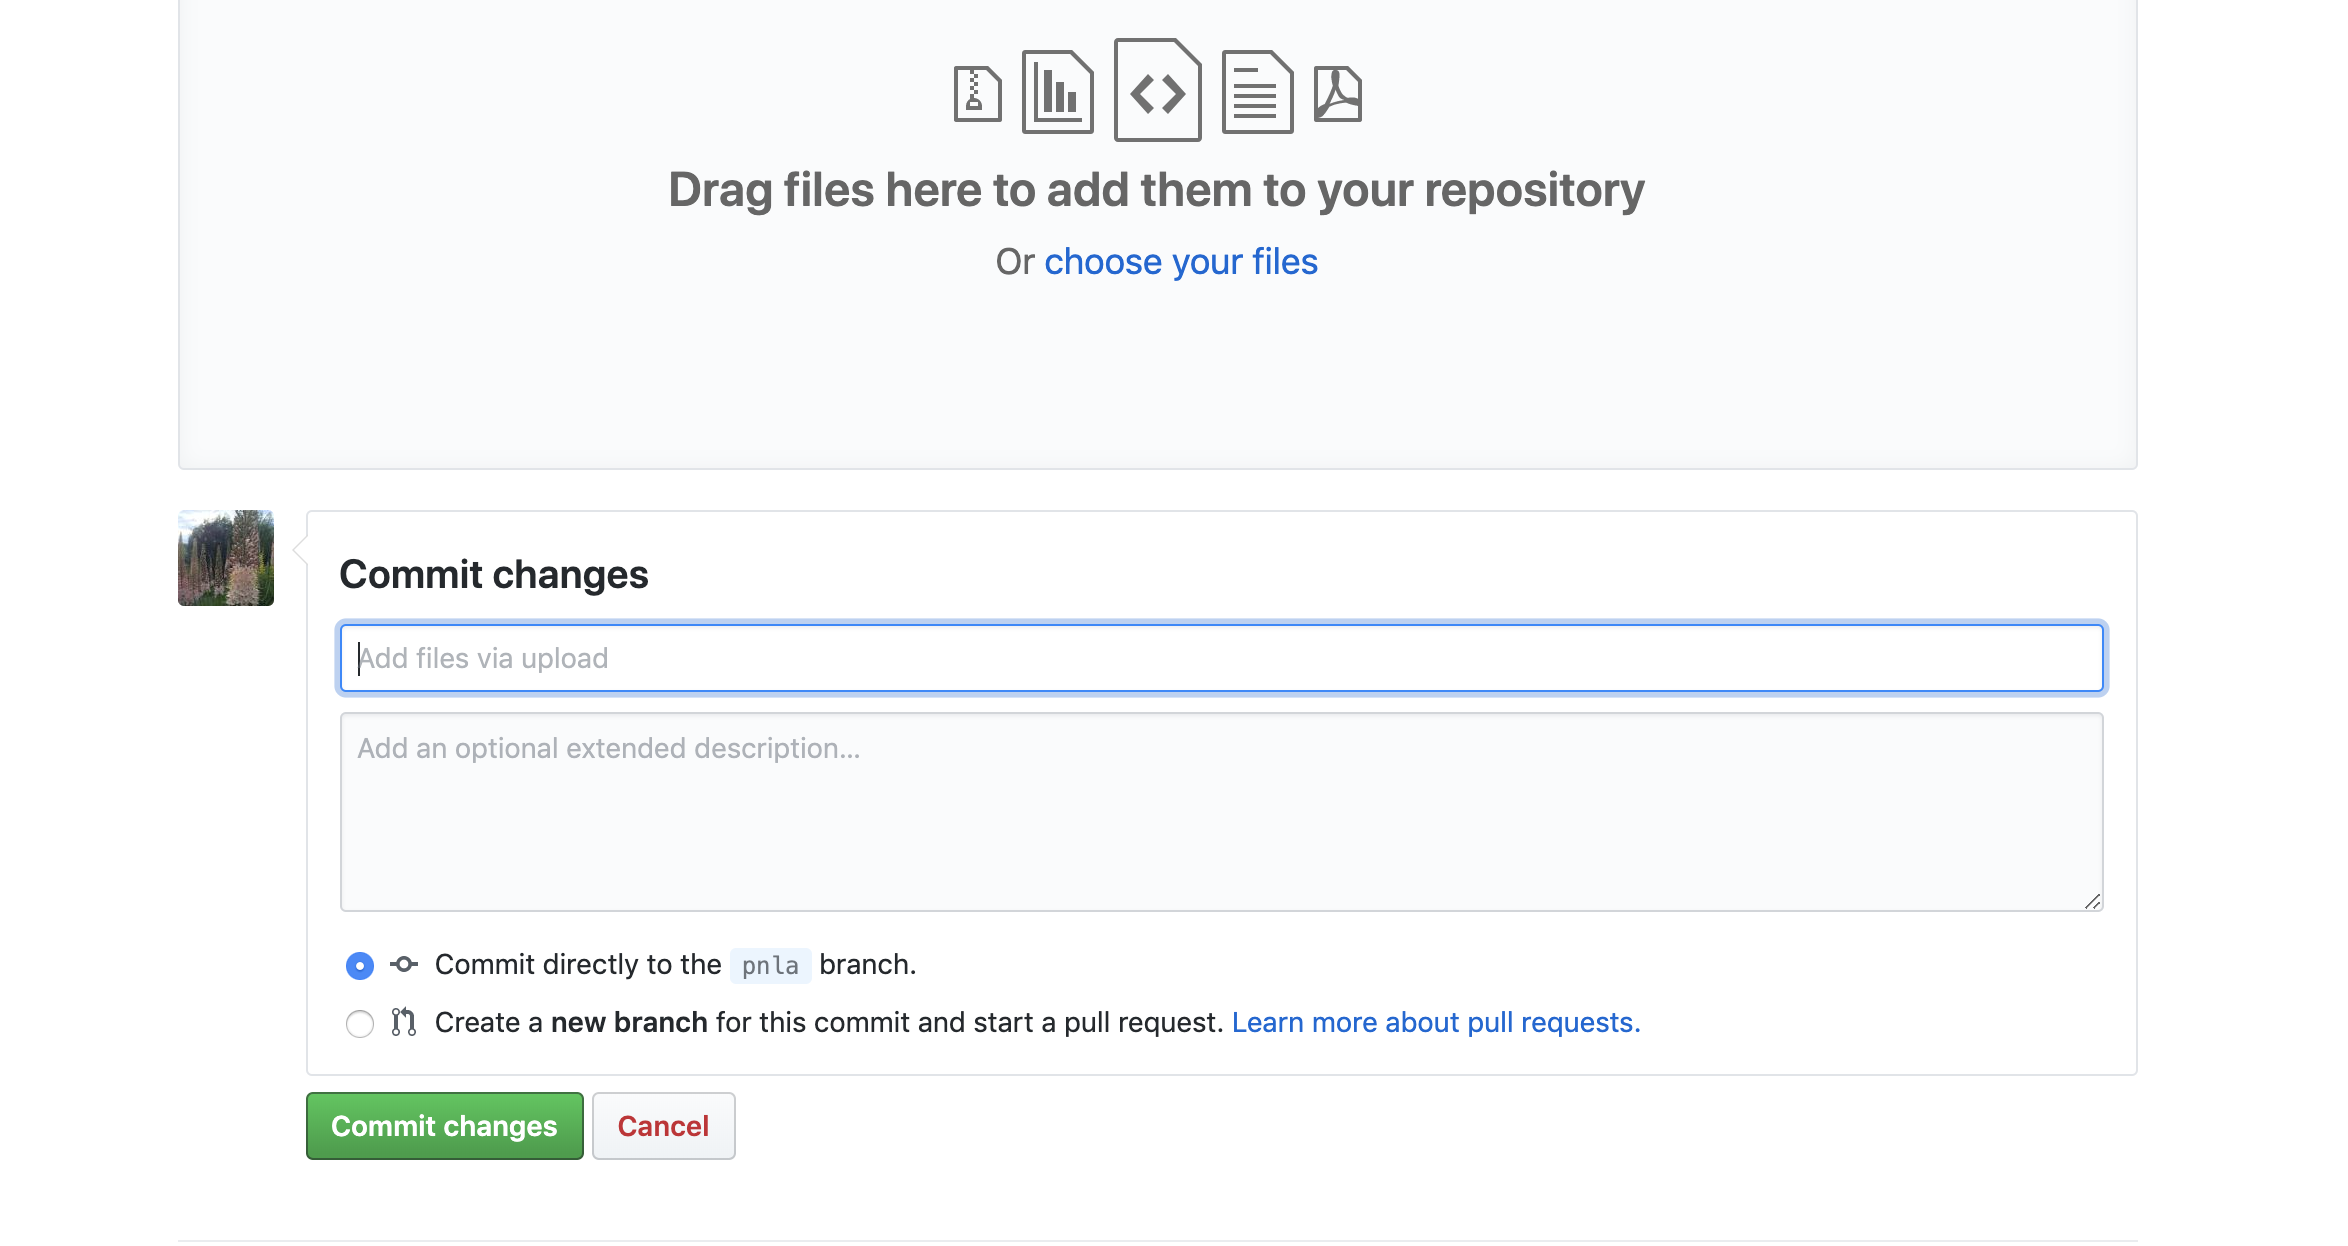
Objects. In the top right corner, click on “Upload Files.” Drag and drop your files or browse your computer for them.

- When you’re ready to commit your changes, add a message explaining what you did in the “Commit changes” box. Then click “Commit Changes.” Your digital objects are now uploaded!
Create your metadata
- Describe your objects using the CollectionBuilder metadata template. You can follow the example of the first record in the template (and delete it when you’ve added your own records), or look at the CollectionBuilder Metadata Guidelines as a guide for formatting your data.
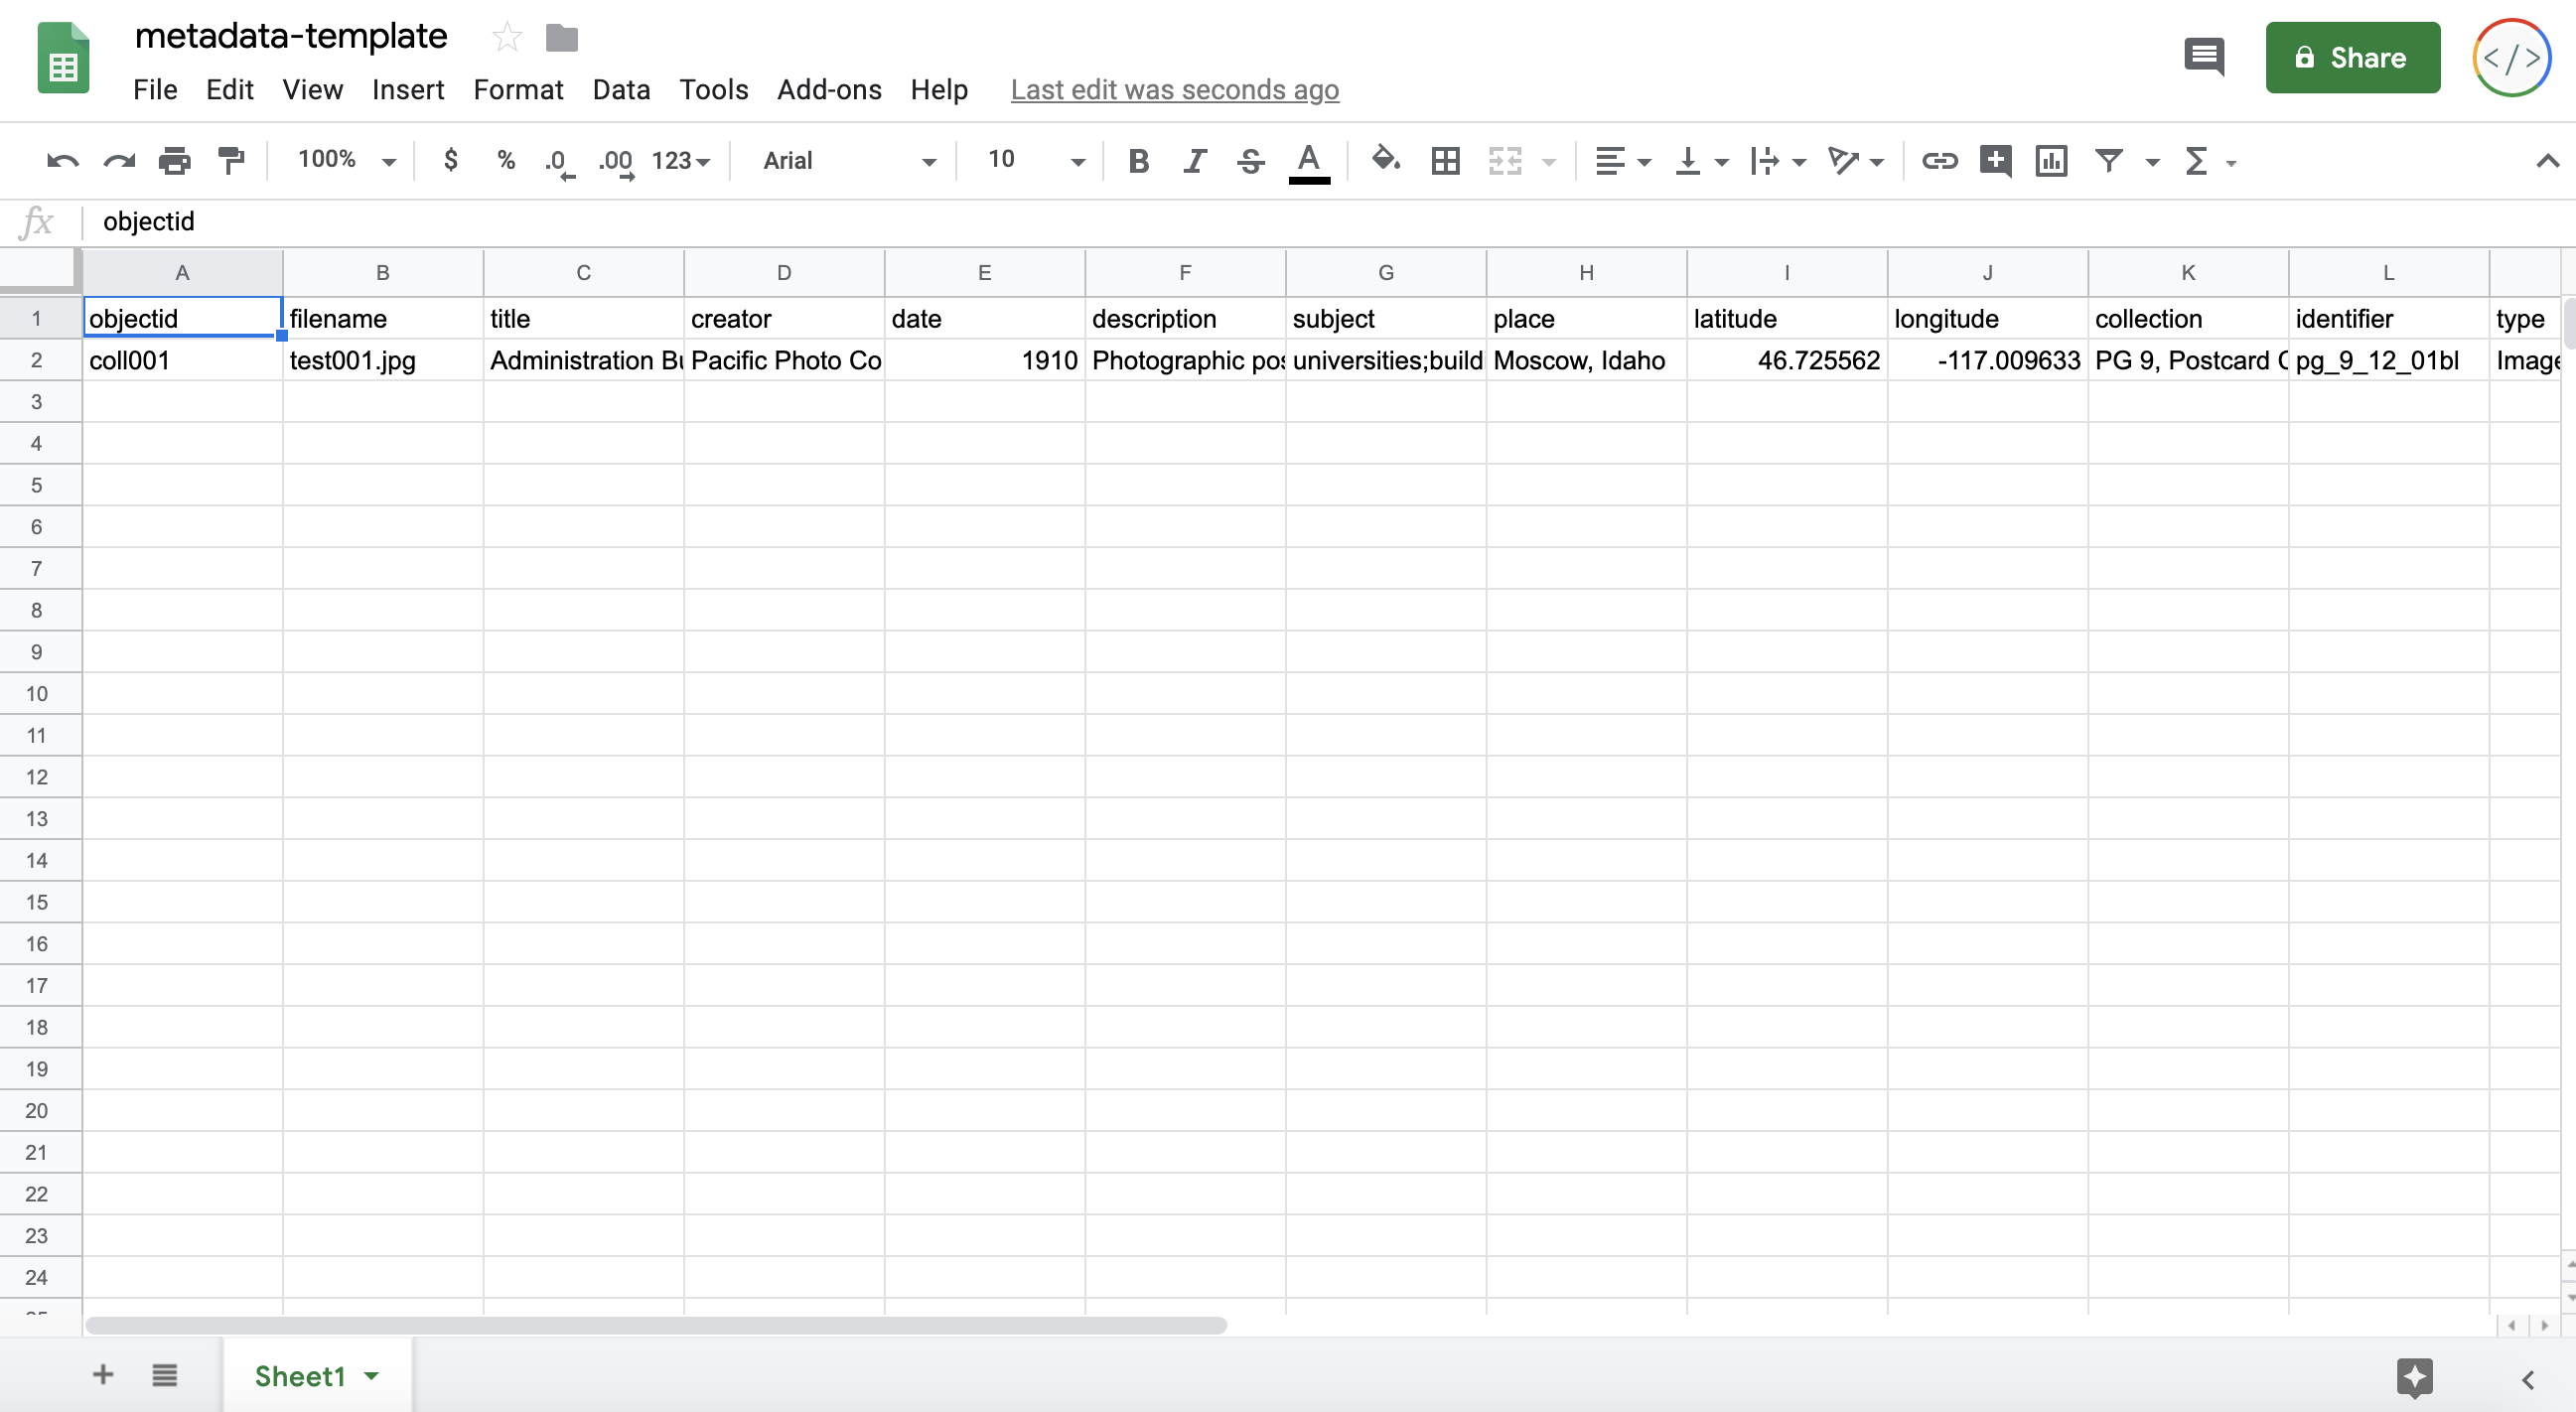
- We recommend copying this Google Sheets version of the Metadata Template into your own Google Sheets account to work on it.
- Once you’ve finished creating your metadata in Google Sheets, click “File” and select “Download as CSV.”
- Locate the metadata csv you just downloaded on your computer. Without opening it, name this file using all lowercase letters and no spaces (i.e. collection-metadata.csv).
Upload your metadata to GitHub
- Navigate to your imported repository.
- Click on the
_datadirectory (Note: Do not confuse this folder with thedatadirectory. Your metadata needs to go in_data). - Follow Step 3 above to upload your metadata to the
_datadirectory.

Configure your site
- Look for the file labeled
_config.ymlin your repository. - Click on
_config.yml. In the top right corner, click the pencil button to edit the file. - Work your way through the file and fill out the fields.
- When you’re finished editing, commit your changes.

Configure your site’s theme
- Navigate to the
_datadirectory. - Click on the file
theme.yml. - This is where you’ll set up the basics of your site. In the top right corner, click the pencil button to edit the file.
- For your site to work, at minimum you need to update the
metadataandrepositoryfields. - Work your way through the file and fill out the fields so that the site is customized to your collection.
- When you’re finished editing, commit your changes.

Publish your digital collection
- Look for a “Settings” button near the top right of the repository. Click on this button.
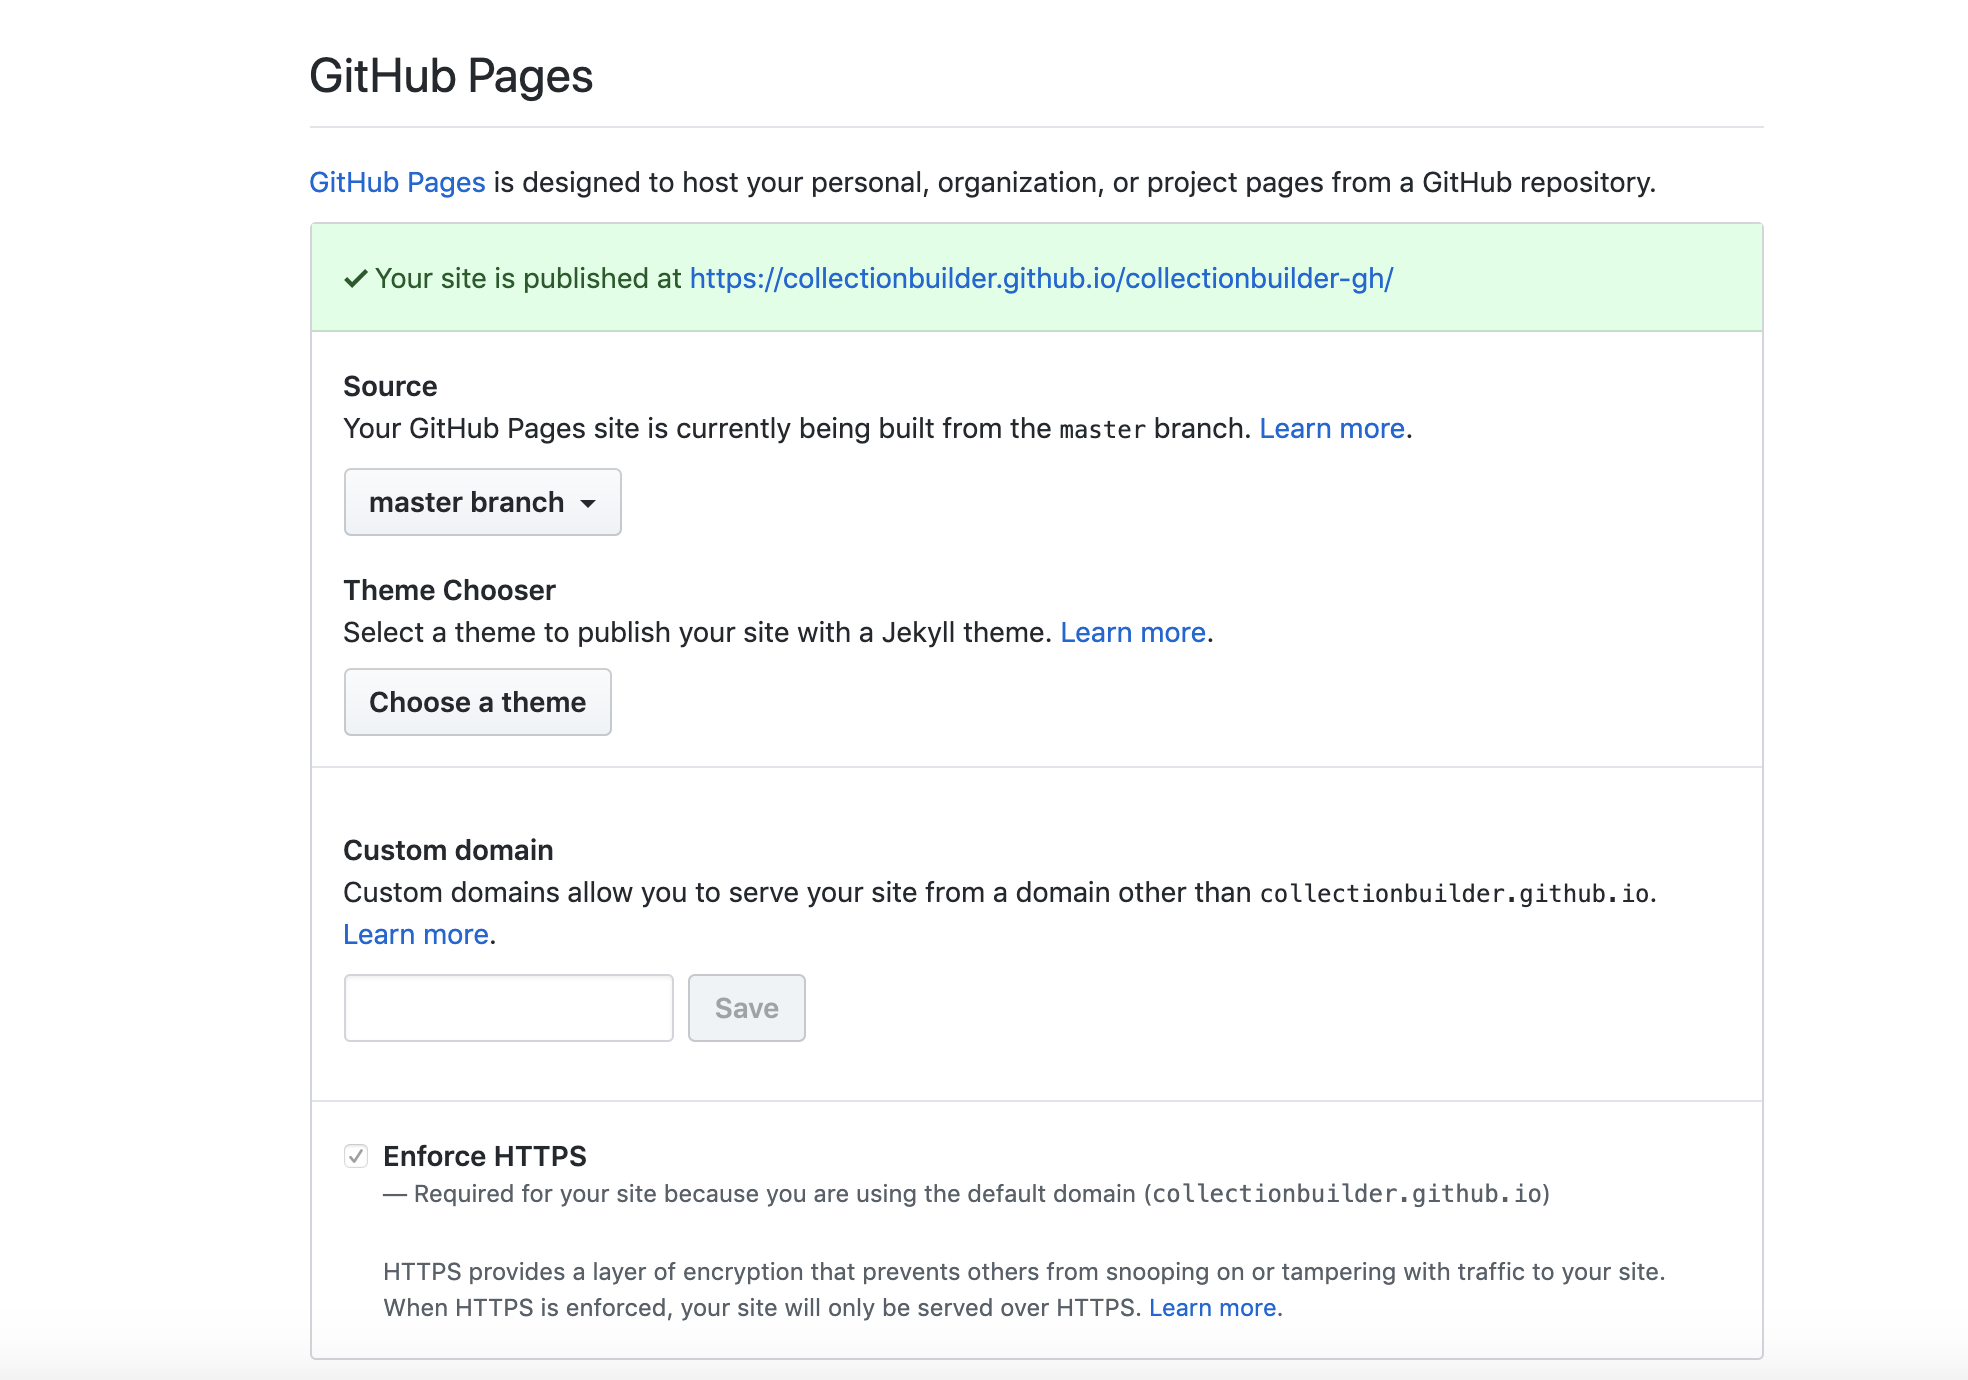
- Scroll down to the “GitHub Pages” section. Choose to publish your GitHub Pages site from the master branch.
- Wait a few minutes for your site to build, then click on the URL that appears in the GitHub Pages box.
Congratulations! You’ve built a CollectionBuilder site! You probably have some metadata to clean up and more customization to do. For further customization, see below.
Edit visualizations and pages
- Navigate to the
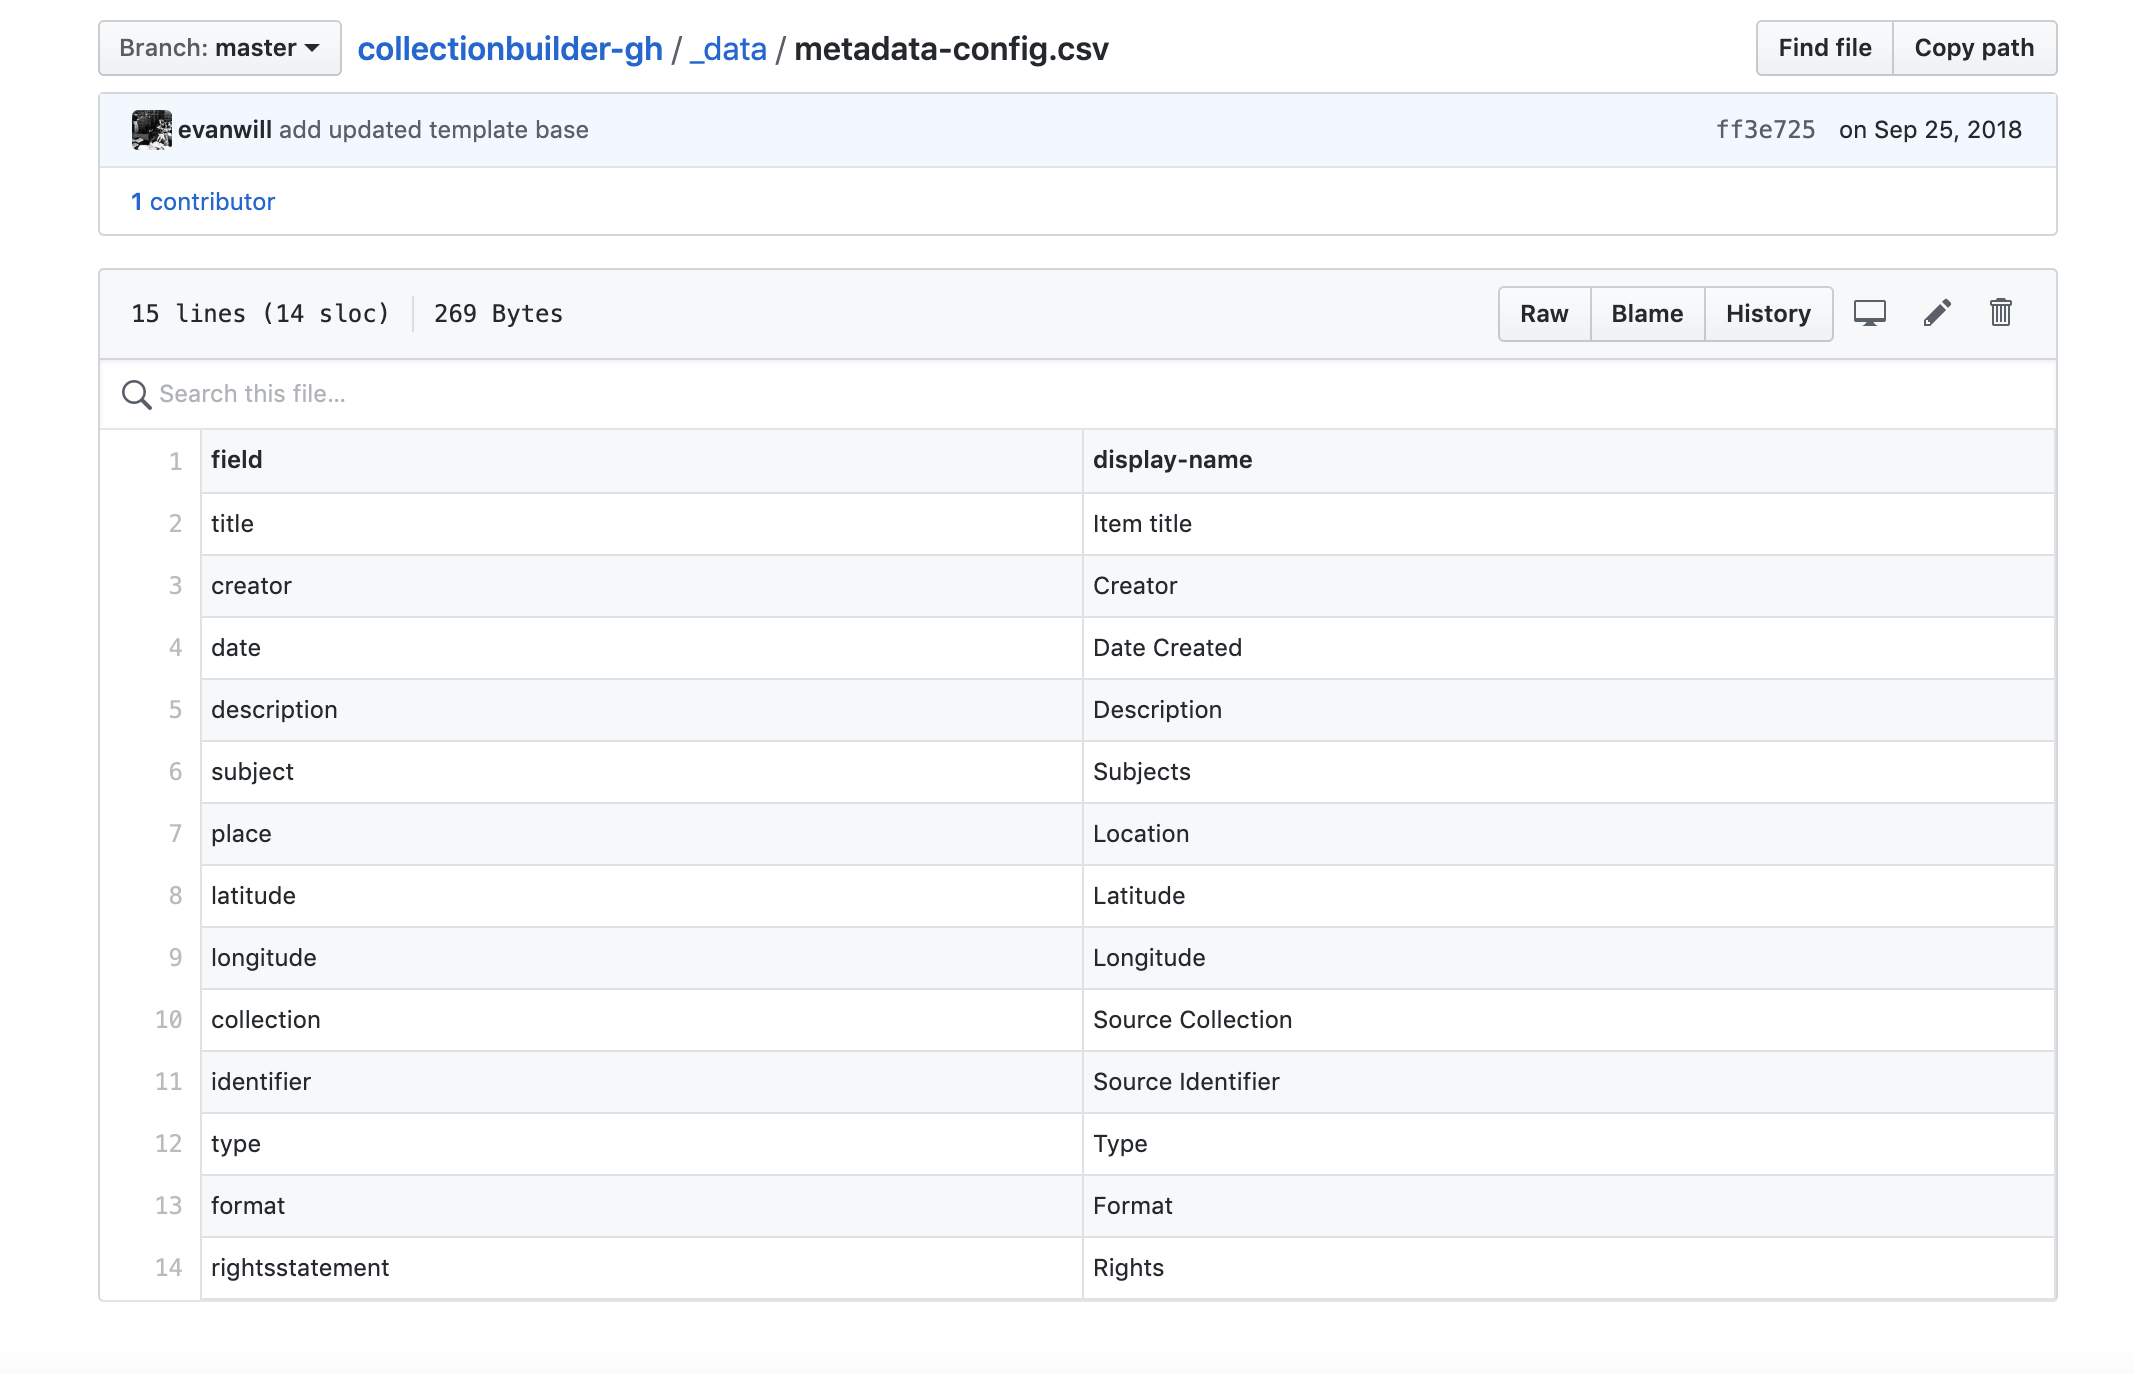
_datadirectory. Customize your site using the files that end in-config.yml:browse-config.csv: edit the information that appears on your collection’s browse cardsmap-config.csv: edit the information that appears on the map popupsmetadata-config.csv: edit the metadata fields that appear on the site’s item pagesnav-config.csv: add or remove pages
- Navigate to the
pagesdirectory and find the fileabout.md. Add some context to your collection by editing this file.- Note: this page is written in Markdown
