Welcome to CB-Essay
CB-Essay is a free, open source publishing framework that lets you write with, on, and for the web while keeping complete control over how your work appears online and in print.
The idea for the tool, and many of its design elements, came out of our working with graduate students on digital theses the past couple of years. We’ve encouraged users of CollectionBuilder to write with their collections since we first started promoting the framework in 2019, but these (CDIL) Grad Fellows needed us to flip our setup around — featuring their essays on top, with CollectionBuilder living underneath.See Sedimentation, Tender Spaces, and Fire Lines.
We liked the results and decided to try to make them more available through this new template. The mini-essays below will walk you through the system and get you started.Click below to start now: Use This Template →
So What Does It Do?
CB-Essay is a Jekyll-based framework that combines long-form essay writing with digital collection features. Built on CollectionBuilder, it enables you to create multimodal scholarly narratives, written in Markdown, that integrate primary sources, archival materials, and multimedia items directly into your texts.
Traditional digital publishing tools treat essays and collections as separate entities. CB-Essay connects them, allowing you to:
- Reference collection items using simple includes
- Create asides and margin notes that link to primary sources Like this!
- Publish your work for free on GitHub
- Generate well-designed print and pdf outputs using PagedJS.
- Choose from 8 accessible color/font themes or create your own custom theme
- Fashion the readers’ experience through scroll-based interactions and coordinated typography Keep scrolling to see the next section magically appear!
How Does It Work?
CB-Essay operates on a dual-collection model:
- Essay Collection - Your narrative content lives in the
_essay/folder as Markdown files - Object Collection - Primary sources and items defined in a CSV metadata file
The dual collection model lets you write with your collection of sources, allowing you to integrate references, images, documents, recordings, and videos seamlessly into your writing and into the web.
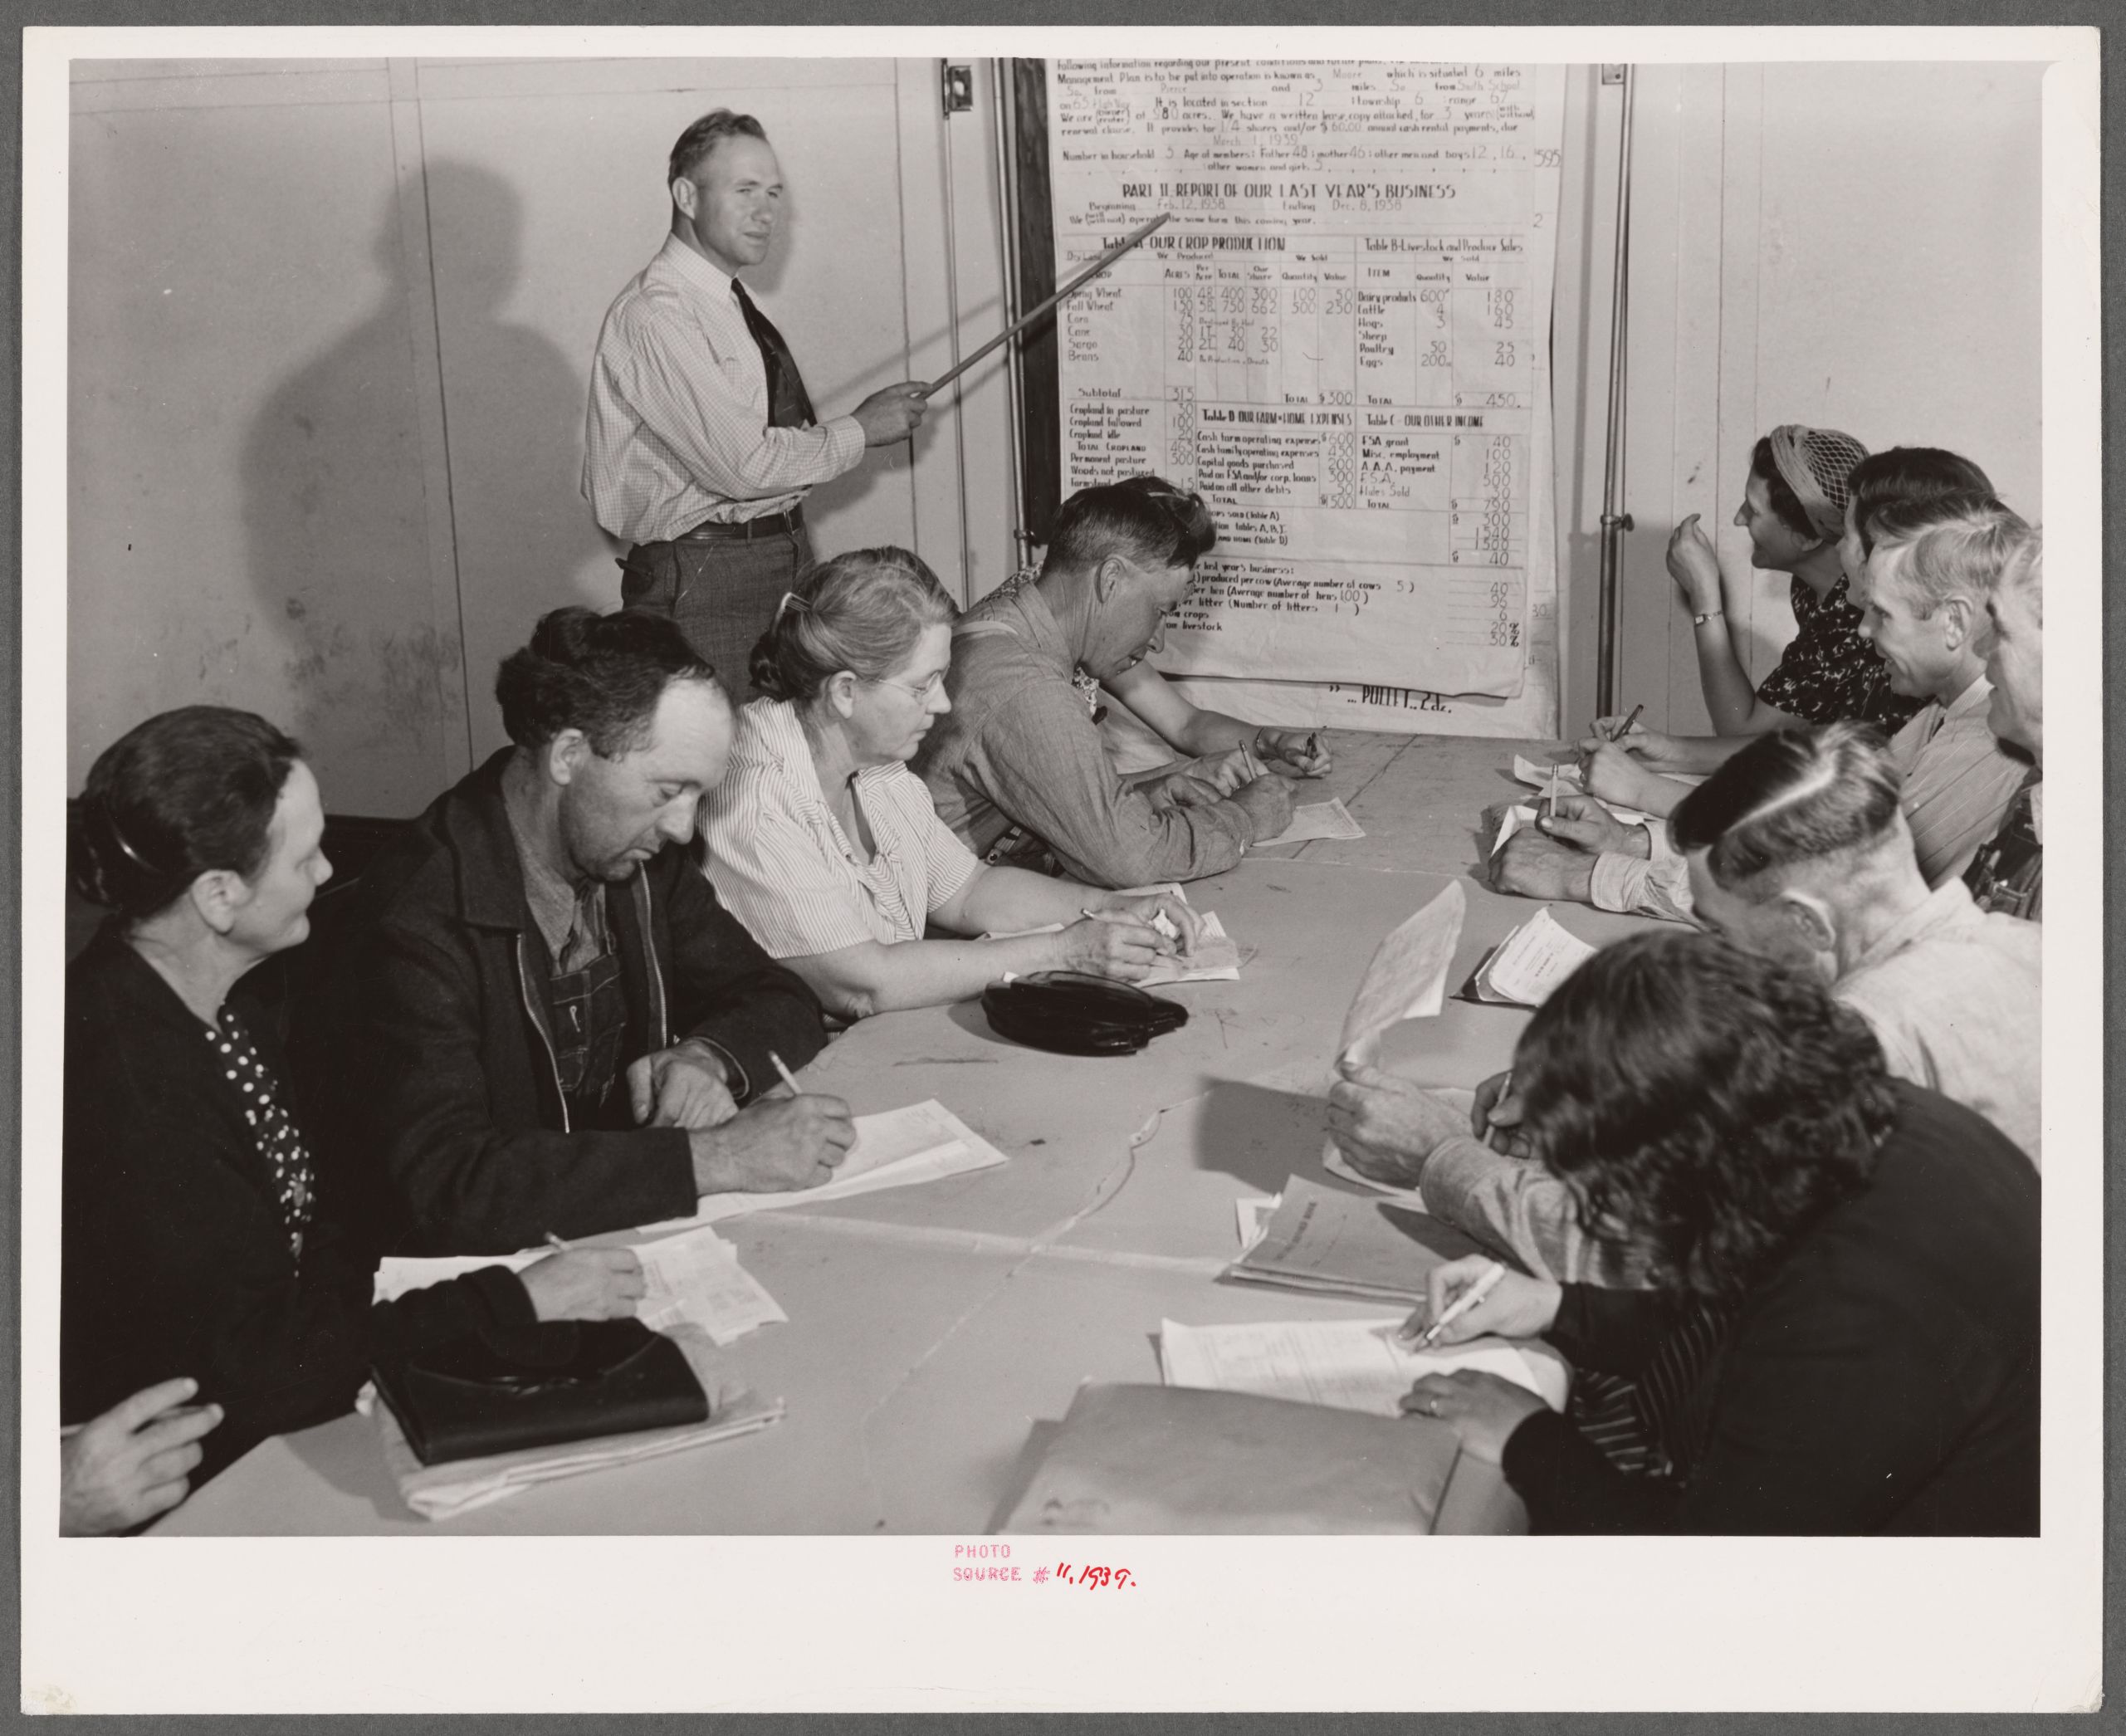
Just follow the plan, as detailed in the below image.Below image credits: The Miriam and Ira D. Wallach Division of Art, Prints and Photographs: Photography Collection, The New York Public Library. ‘Group farm plan writing meeting. Weld County, Colorado’ The New York Public Library Digital Collections. https://digitalcollections.nypl.org/items/1b0a3fc0-1d42-0139-bac7-0242ac110003
Who Should Use CB-Essay?
If you’re reading this, it’s probably you! (Just make a copy of this repostory and drop your own content inside.) But yeah, it’s meant for:
- Digital humanists creating annotated editions or critical apparatus
- Historians presenting narrative alongside primary sources
- Educators building interactive course readers
- Archivists creating context around collections
- Writers publishing long-form digital scholarship
- Students looking to improve their knowledge of web and print design
Click to view
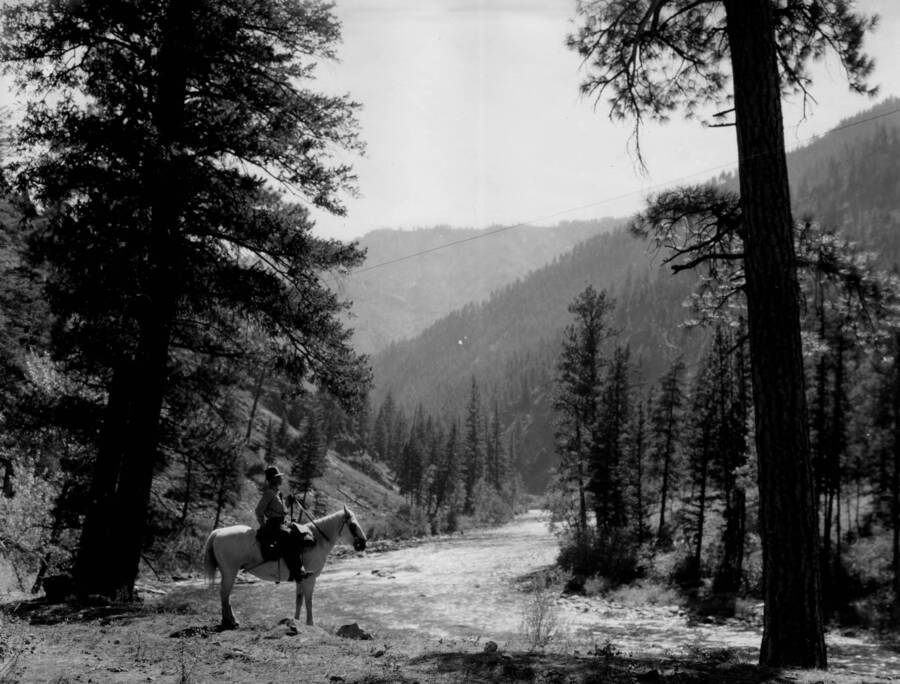
Even mounted forest rangers should use this tool!
Bonus: Project Gutenberg Extractor
Want to publish a public domain book instead of writing from scratch? Our GitHub Action extracts any of 60,000+ books from Project Gutenberg directly into your _essay/ folder, pre-formatted and ready to go.
See Extracting a Book from Project Gutenberg for a full before/after walkthrough.
Next Steps
Check out some examples sites, then get started. The remaining essays show off CB-Essay in the wild, and then walk you through setting up your first site and understanding the features.
- See Examples - See CB-Essay as used for DH projects and in demonstration
- Get Started - Set up your first essay in 10 minutes
- Extracting a Book from Project Gutenberg - Publish a public domain book in minutes
- Essay Writing Features - Learn and copy all available features
- Publishing, Printing & Reading - Print, search, deploy, and share your work
Or jump straight to the documentation for reference guides.
Ready to start your own CB-Essay project?
Use This Template →CB-Essay in the Wild
Various Authors
Demonstration Sites
We set these sites up as demonstrations of the various themes and effects of the platform.
Frankenstein: Extracted Book from Project Gutenberg
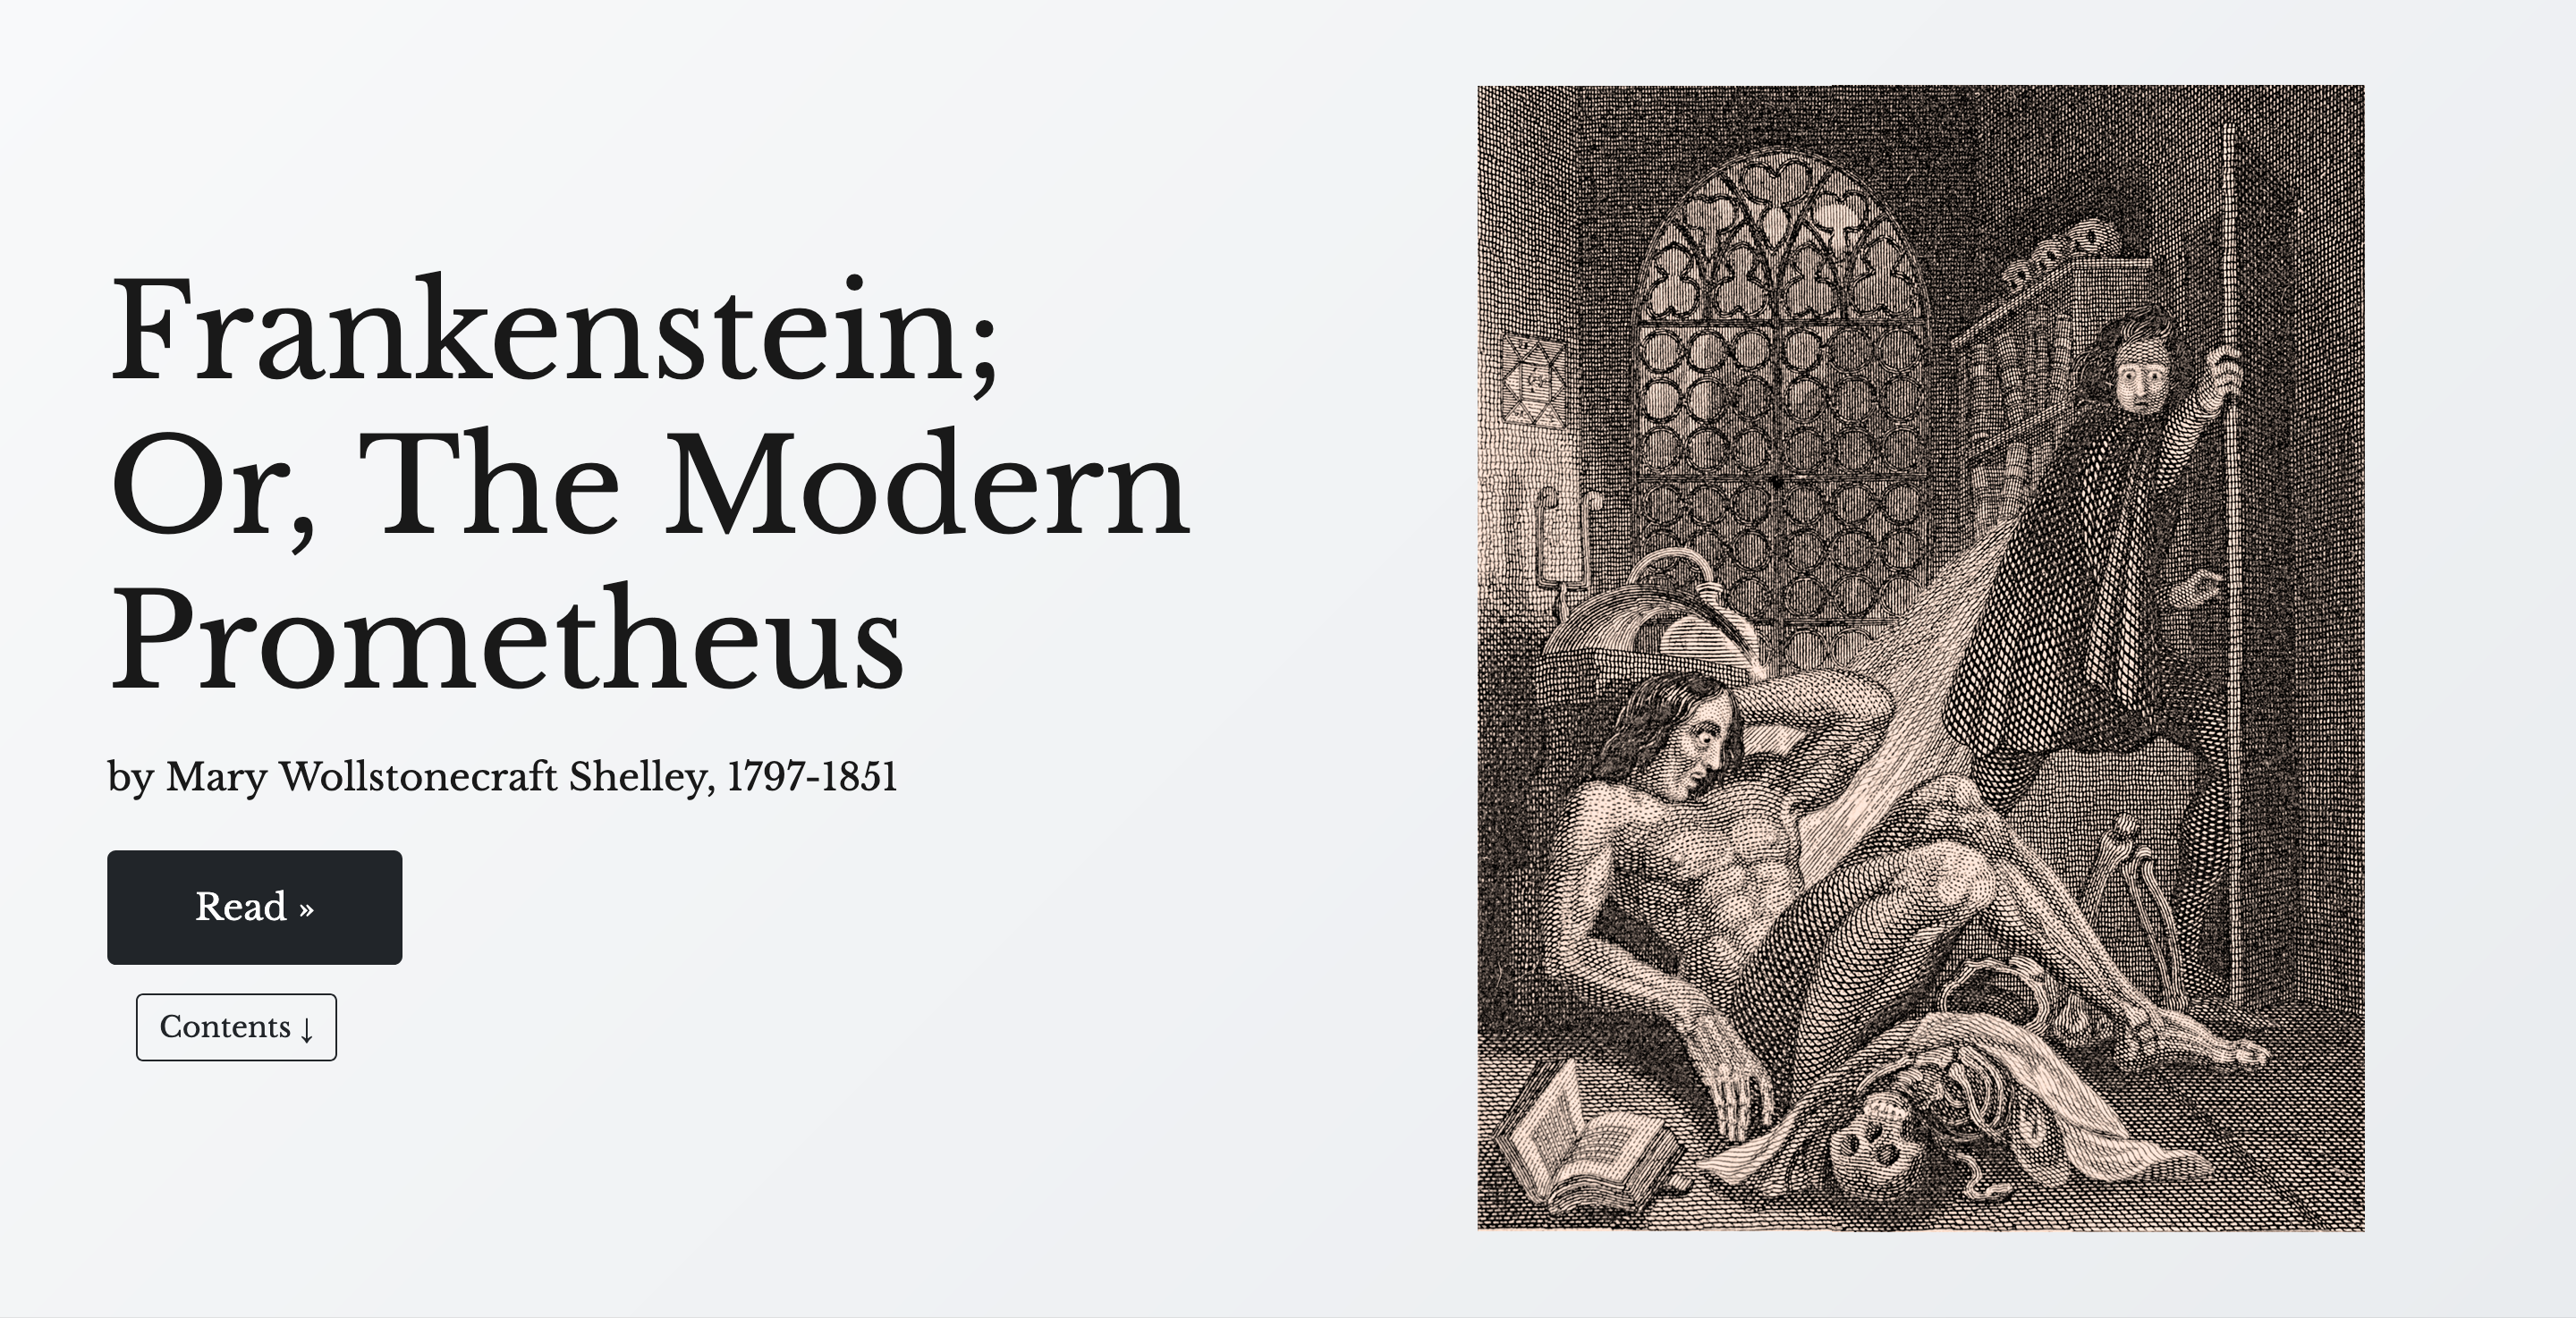
A digital edition of Mary Shelley’s classic novel demoing our Gutenberg Extractor. Features chapter-by-chapter navigation, integrated scholarly apparatus, and historical context from Project Gutenberg.
See the full build walkthrough, before/after, and how it works in Extracting a Book from Project Gutenberg.
View: dcnb.github.io/frankenstein
The Wreck of the Deutschland: Single-page, sectioned poem with scroll interactions
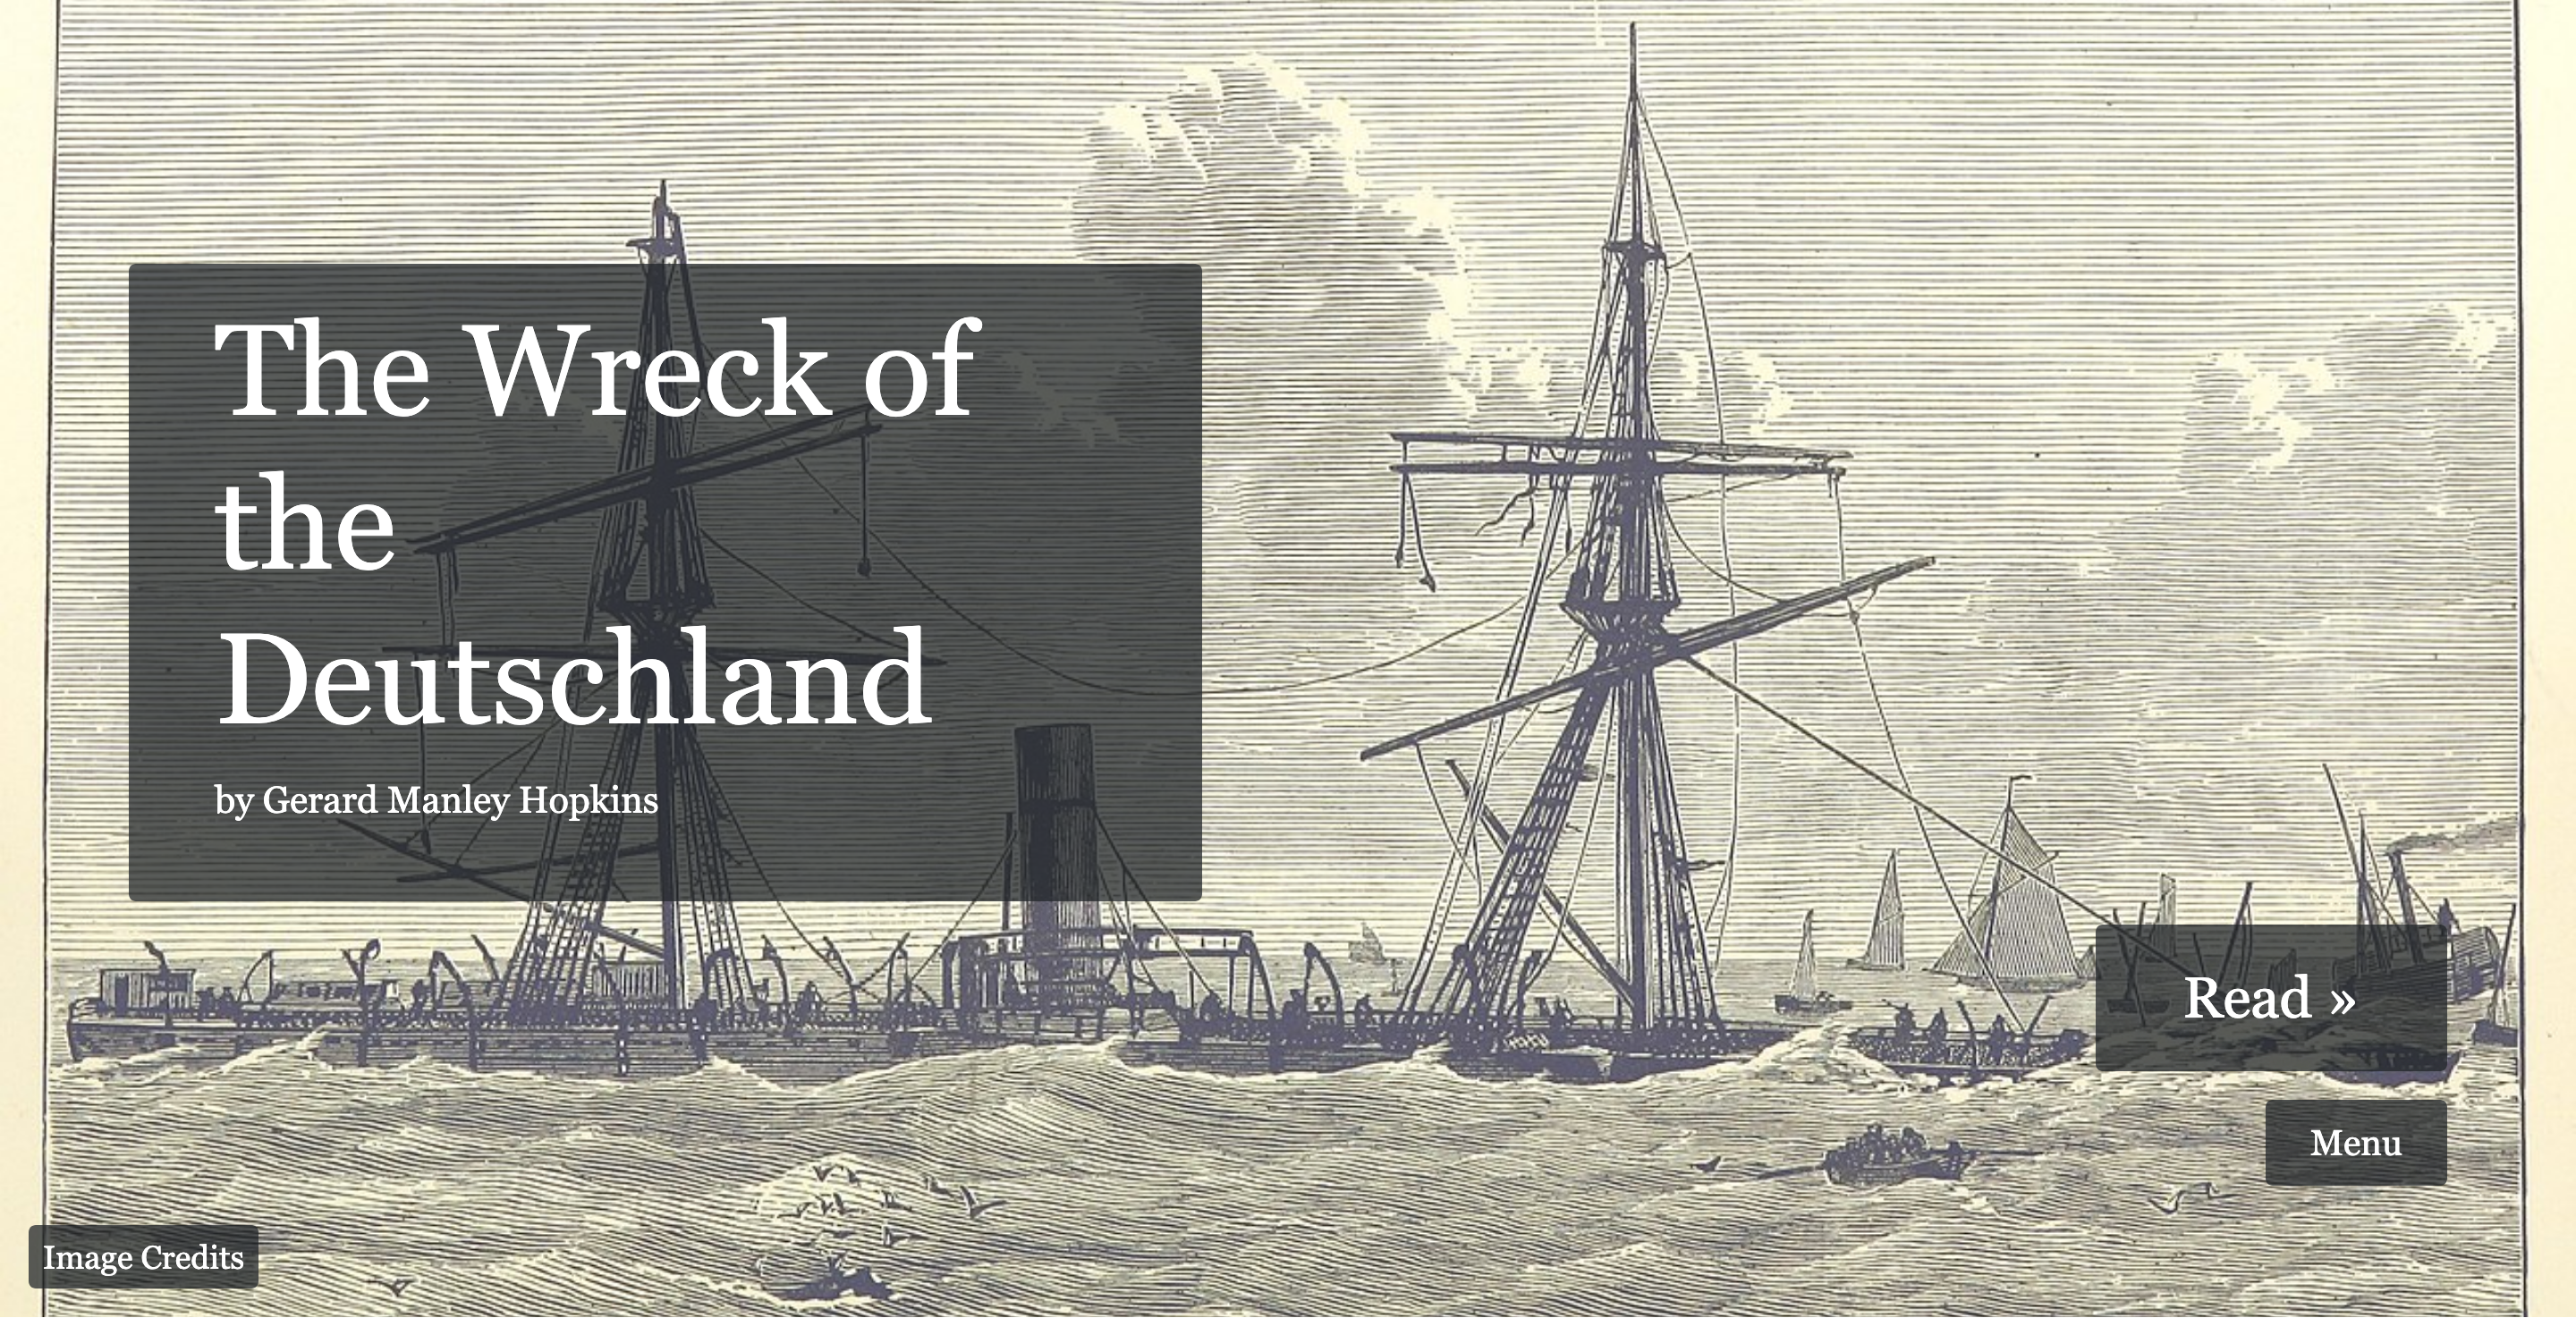
Gerard Manley Hopkins’s poem presented in the essay theme with scrolling transitions and visual breaks. Shows how CB-Essay handles poetry and single-page essays with dramatic effect.
View: dcnb.github.io/wreck-of-the-deutschland
Digital Humanites Projects
CB-Essay powers a variety of digital humanities projects:
Sedimentation: An Archive of Glen Canyon
A multimedia exploration of Glen Canyon’s entangled human and natural histories, traced through the sedimentary archive. Created by Hannah Green as her English M.A. thesis at the University of Idaho, Sedimentation interweaves five thematic essay “tributaries” — Atmosphere, Water, Biota, Humans, and Land — with archival photographs of the canyon before it was drowned beneath Lake Powell in 1963. The project also features Eddies, a choose-your-own-adventure mode that lets readers navigate through interlinked story fragments in any order, building their own nonlinear path through the canyon’s histories.
View: cdil.lib.uidaho.edu/sedimentation
Fire Lines: The First CB-Essay Project
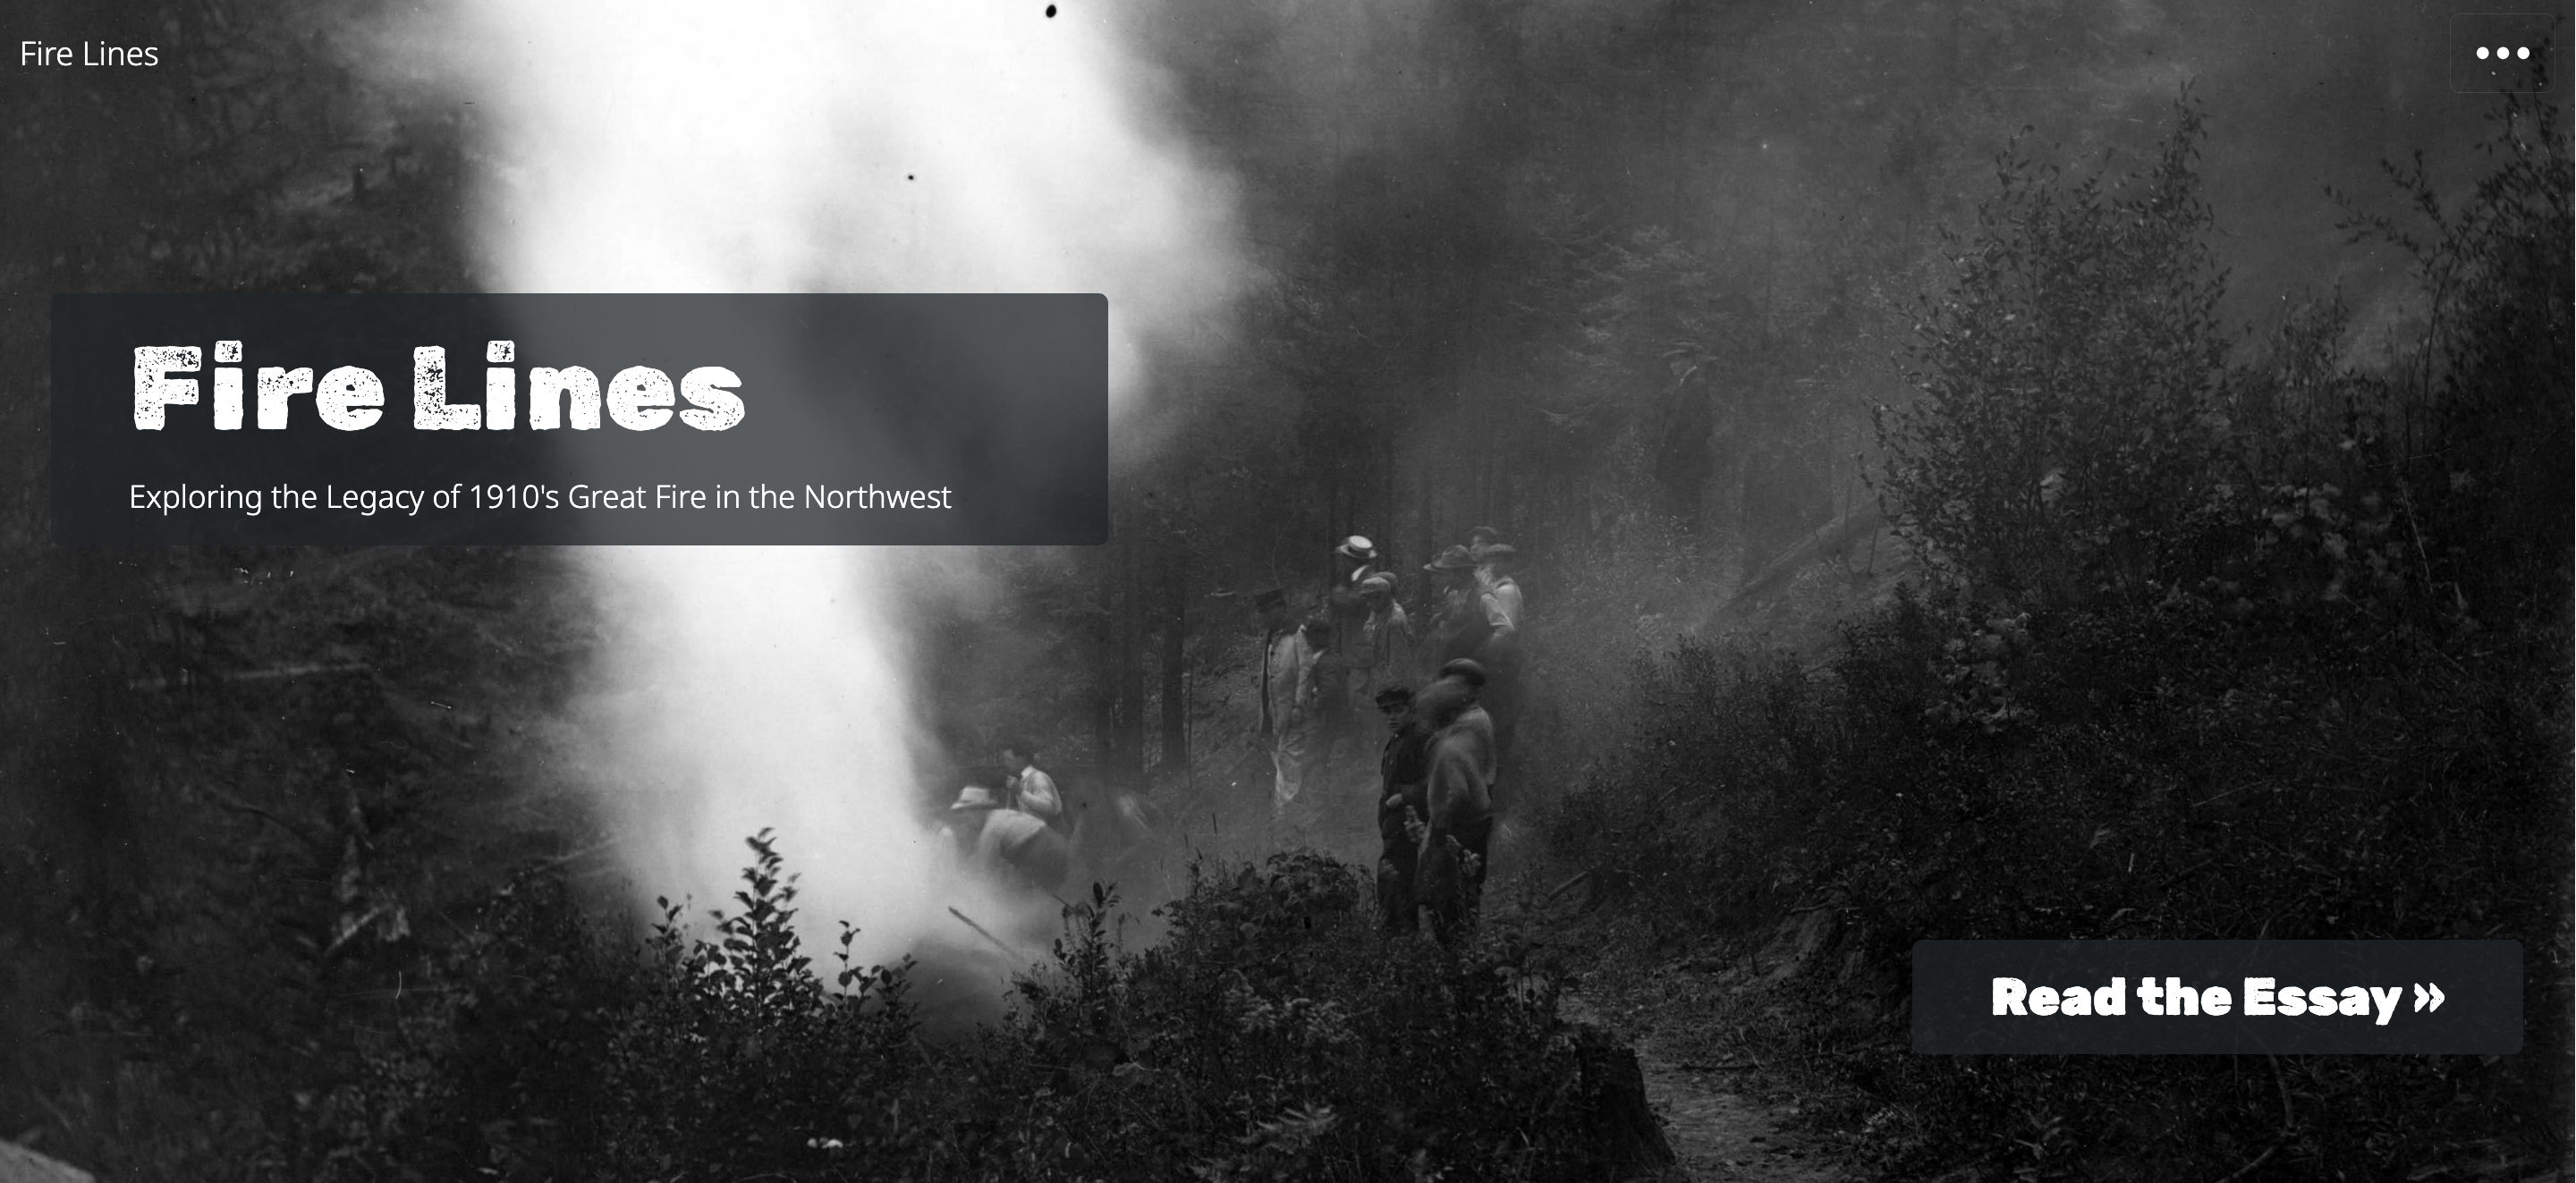
The first CB-Essay, this essay uses archival items from the University of Idaho’s Special Collections and Archives to interrogate the massive wildfire that occurred in 1910, known as the Big Burn.
View: cdil.lib.uidaho.edu/fire-lines
Tender Spaces: Multimodal, Multilingual 5-Part Essay
This extensively customized multimodal and multilinqual essay explores artist Gaëtane Buttigieg’s life, art, and forced institutionalization in the 1970s through personal narratives and video interviews. This project demonstrates CB-Essay’s flexibility for highly designed, custom presentations.
View: cdil.lib.uidaho.edu/tender-spaces
Next Steps
Ready to get started? The remaining essays walk you through everything:
- Get Started - Set up your first essay in 10 minutes
- Extracting a Book from Project Gutenberg - Publish a public domain book in minutes
- Essay Writing Features - Learn and copy all available features
- Publishing, Printing & Reading - Print, search, deploy, and share your work
Or jump straight to the documentation for reference guides.
Get Started with CB-Essay
This guide walks you through creating your first CB-Essay project from scratch. You’ll have a working essay site in about 10 minutes.
Philosophy: Copy and Replace
This entire demo site is designed to teach through demonstration. Every feature you see can be copied directly into your own essays. See a blockquote you like? Copy the code, replace the content with yours. Find a useful margin note? Same approach.
You don’t need to understand the technical details - just copy what works and replace the content.
Prerequisites
You’ll need:
- A GitHub account (free) – Sign up now!
- A willingness to learn
Step 1: Use This Template
CB-Essay is a GitHub template repository. This means you can create your own copy with one click:
- Navigate to github.com/CollectionBuilder/cb-essay
- Click the green “Use this template” button
- Name your repository (e.g.,
my-essay-project)Tip: Use a descriptive repository name. It will become part of your site’s URL:username.github.io/repository-name - Choose Public or Private (If you’d like to publish the site on GitHub’s free GitHub Pages web hosting, it will need to be Public)
- Click “Create repository”
That’s it! You now have your own CB-Essay repository.
Step 2: Choose Your Editing Workflow
You have several options for working with your essays. Most CB-Essay users work directly on GitHub without installing anything locally.
Option A: Edit on GitHub.com (Easiest!)
Work entirely in your browser - no local installation needed:
- Navigate to your repository on GitHub
- Click into the
_essay/folder - Open
01-welcome.mdand replace it’s content with your own! - Do the same with the other
.mdfiles in the folder, renaming the filenames and replacing the “frontmatter” Frontmatter is the information at the top of each.mdfile that includes information liketitleandorder; it’s separated by---lines at the top and bottom. with your own info.- See Step 3 below for more information on how to edit these files.
- Edit the
_config.ymlfile and the_data/theme.ymlfile to change the site’s title, theme, featured image, and typography - Click “Commit changes”
More Development Options
Get a full VS Code editor without leaving your browser:
- Go to your repository on GitHub
- Press the
.(period) key OR change the URL fromgithub.comtogithub.dev - Edit files in a full-featured code editor
- Replace the content in the
_essayfolder with your own - Edit the
_config.ymlfile and the_data/theme.ymlfile to change the site’s title, theme, featured image, and typography
- Replace the content in the
- Use Source Control panel (third option from the top on the far left) to stage and commit changes
Good for: Multiple file edits, search/replace, file management
Get a complete development environment in the cloud:
- Click Code → Codespaces → Create codespace
- Wait for environment to load (includes Jekyll!)
- Edit files in VS Code interface
- Preview with
bundle exec jekyll s - Use terminal, extensions, and full IDE features
Good for: Testing features, previewing locally, advanced work
For local development with Git and Jekyll installed on your computer, follow the CollectionBuilder-CSV walkthrough. CB-Essay uses the same setup process.
Good for: Offline work, full control, fastest preview cycle
Step 3: Create Your First Essay
Now that you’ve chosen your workflow, let’s add your content. Create a file in _essay/ named my-first-essay.md with this content:
---
title: My First Essay
order: 1
---

## Introduction

This is my first essay using CB-Essay. I can write in **Markdown** with _formatting_.

Here's a paragraph with a [link](https://example.com).

## Another Section

- Bullet points work
- As expected<sup class="aside-ref"></sup><span class="aside">So do asides!
</span>

### Subsections too

I can add blockquotes:

{% include essay/feature/blockquote.html
   quote="This is a quotation"
   speaker="Someone Important" %}
Notice the front matter (between --- lines):
title: Your essay’s titleorder: Controls navigation sequence (1, 2, 3…)
Quick Option: Project Gutenberg
Prefer to start from an existing text instead of writing from scratch? See Extracting a Book from Project Gutenberg for a full walkthrough.
Step 4: Customize Configuration
Edit two main configuration files:
_config.yml - Site Settings
These settings control what appears on your homepage cover page:
title: "Your Essay Title"
author: "Your Name"  # Displays as "by Your Name" on cover page
tagline: "A brief description"  # Only shows if author is empty
description: "Longer description for search engines (160 chars)"
Cover Page Display:
- title: Your main title (always displays)
- author: Shows as “by [Author Name]” beneath the title
- If you provide an author, it displays instead of the tagline
- You can use HTML for multiple lines:
author: "Author Name<br>Edited by Editor Name"
- tagline: Only displays if author field is empty
- Use for subtitle or project description
- Can also use HTML:
tagline: "A Digital Edition<br>Published 2024"
_data/theme.yml - Appearance
# Navigation & Homepage
show-contents-nav: false  # true: navbar shows "Contents" button + chapter panel
show-homepage-toc: false  # true: homepage displays chapter table of contents
show-section-nav: false   # true: floating H2 sidebar on essay pages (wide screens)

# Homepage image
image-style: full-image  # full-image, half-image, or no-image
featured-image: /assets/img/your-image.jpg

# Color theme
color-theme: aldine  # default, idaho, lyre, nonesuch, aldine, doves, kelmscott, gregynog, ashendene

# Typography
base-font-size: 1.2em
base-font-family: theme       # theme (auto-matched) | Georgia | custom Google Font
display-font-family: theme    # theme | Georgia | custom
Color themes: Choose from 8 built-in accessible themes inspired by historical printing, or use custom with your own hex color.
Fonts: Set to theme for automatic pairing with your color theme, Georgia for offline use, or provide a custom Google Font with font-cdn.
You can edit these files directly on GitHub or in any of the editors mentioned in Step 2.
Add Your First Collection Item
CB-Essay manages two collections that work together: your essays in _essay/, and a CSV of digital items (images, PDFs, audio, video) in _data/ that you can reference from any essay by objectid.
To add your first item, create or edit _data/your-metadata.csv with at least these three columns:
objectid- Unique identifier (lowercase, no spaces)title- Item nameformat- File type (e.g.image/jpeg,application/pdf)
Then reference it in any essay with an aside:
{% include essay/feature/aside.html
   objectid="your_objectid"
   text="Context about this item" %}
Preview your site and confirm the item resolves correctly. See Essay Writing Features for every way to use collection items in your essays, and CollectionBuilder’s metadata guide for the complete field reference.
Step 5: Add More Essays
Create additional essay files in _essay/:
_essay/
├── 01-introduction.md   (order: 1)
├── 02-chapter-one.md    (order: 2)
└── 03-conclusion.md     (order: 3)
Essays will appear in navigation based on their order value, not the filename.Pro tip: Use order values like 10, 20, 30 instead of 1, 2, 3. This makes it easy to insert essays later without renumbering everything.
Step 6: Configure Print/PDF Output (Optional)
CB-Essay includes sophisticated print and PDF generation using Paged.js. Configure it in _data/theme.yml:
print:
  author: "Your Name"           # Author shown on cover and in PDF metadata
  institution: "Your Org"        # Institution on cover page
  cover-subtitle: ""             # Optional subtitle for book cover
  show-individual: true          # Show individual essay print cards
  show-book: true                # Show book builder
  aside-style: margin            # margin or inline
Aside styles:
margin: Margin notes float into page gutter (requires wider right margin)inline: Margin notes appear as indented callout blocks
Once configured, access the Print Hub at /print/ to:
- Print individual essays in Letter, A4, or 6×9″ formats
- Build custom PDF books by selecting specific essays
- Generate print-ready PDFs directly from your browserTip: The Print Hub is automatically added to your site navigation via
_data/config-nav.csv
Step 7: Deploy to GitHub Pages
When you’re ready to publish, set up GitHub Pages:
- Go to your repository → Settings → Pages
- Under Source, select GitHub Actions
- Click Configure on the Jekyll workflow
- Change
ruby-version: '3.1'to'3.4'(line 40) - Click Commit changes
After 2-3 minutes, visit https://YOUR-USERNAME.github.io/YOUR-REPO-NAME/
Your essay is live! 🎉
For other deployment options, see CollectionBuilder’s Deployment Documentation.
Next Steps
Now that your site is running, explore what you can do:
- Extracting a Book from Project Gutenberg - Publish a public domain book in minutes
- Essay Writing Features - Learn all available features with copy-paste examples
- Publishing, Printing & Reading - Print, search, deploy, and share your work
Or dive into the documentation.
Just want to start building? Create your own copy of CB-Essay with one click.
Use This Template →Extracting a Book from Project Gutenberg
Here’s the fastest way to see everything CB-Essay can do: skip writing altogether and pull in a finished book. Project Gutenberg hosts more than 60,000 public domain texts, and CB-Essay ships a tool that turns any one of them into a working, styled, chapter-by-chapter site in a few minutes — pre-formatted, front-matter and all. It’s also just fun to play with.
This essay walks through running the extractor, shows exactly what it produces, and points you toward where to take the result from there.
Running the Extractor
- Make sure GitHub Pages is enabled first — see Get Started, Step 7 if you haven’t done this yet.
- Go to your repository’s Actions tab.
- Click “Extract Gutenberg Book” in the workflow list.
- Click “Run workflow” and fill in three inputs:
book_id— the Gutenberg ebook ID, found in its URL (gutenberg.org/ebooks/84→84for Frankenstein;1342for Pride and Prejudice).clear_existing(default: checked) — deletes everything currently in_essay/before extracting. Uncheck this if you have existing essays you want to keep.generate_about(default: checked) — also generatespages/about.mdwith a catalog-card include and an “About This Edition” note.
- Click “Run workflow” and wait a few minutes for it to extract, commit, and rebuild your site.
What You Get
- Chapter-by-chapter Markdown files in
_essay/, each withtitle,order, andchapterfront matter already set. - The book’s cover image and interior illustrations, downloaded where available.
- Author, title, and publication metadata pulled from the book’s Dublin Core data.
_config.ymland_data/theme.ymlupdated automatically — site title, author, description, a matchinghalf-imagehomepage layout with the cover as the featured image, and print metadata.- If
generate_aboutwas checked, a populatedpages/about.mdcrediting Project Gutenberg and linking back to the extraction script.
See It Live
Frankenstein is CB-Essay’s own extraction demo — chapter navigation, historical context, and a scholarly apparatus, all starting from the same public domain text shown above.
View: dcnb.github.io/frankenstein
Now Make It Yours
Extracted chapters are a starting point, not a finished essay. Once you’ve got a book’s worth of clean Markdown, treat it the way you would any other CB-Essay content:
- Add asides that link a passage to a related archival item or historical note — see Essay Writing Features.
- Break a long chapter into a scrollytelling sequence with a relevant illustration pinned in view — see Scroll-Based Features.
- Adjust
ordervalues if you want to reorganize chapters, or add your own introductory essay ahead of Chapter 1.
For the Curious: How It Works
The extractor pattern-matches against the consistent boilerplate markers, chapter heading conventions, and metadata formats that Project Gutenberg uses across its catalog. For the technical detail — useful if you’re debugging an unusual book or extending the script — see the Gutenberg Extraction Guide (technical/maintainer reference, not another tutorial).
Next Steps
Ready to extract your own book? Start your own copy of CB-Essay.
Use This Template →Essay Writing Features
CB-Essay provides specialized includes that extend Markdown for scholarly writing. This essay demonstrates every feature with working examples you can copy directly into your own work.
The copy-and-replace principle: Find a feature you like, copy the code block, paste it into your essay, and replace the content with yours. That’s it!
Includes below come in two flavors, and the path tells you which: feature/... includes are core CollectionBuilder features. Those that use essay/feature/... includes are built specifically for CB-Essay. Both are used the same way; the path is your only signal for where else you can reuse them.
Basic Markdown
Like all CollectionBuilder content pages, CB-Essay uses markdown for basic writing options:
Headings
## Heading 2
### Heading 3
#### Heading 4
Text Formatting
Bold text with **bold**
Italic text with *italic*
Bold italic with ***bold italic***
Links
Link text with [text](url)
Check out CB’s Markdown glossary entry for resources and tutorials!
Asides (Margin Notes)
Margin notes appear beside your text on desktop, inline on mobile.
Text-Only Aside
Here’s a paragraph with a margin note.This is a margin note providing additional context or commentary. The text continues naturally, and the aside appears in the margin.
Copy this:
{% include essay/feature/aside.html
   text="Your margin note text here" %}
Aside with Collection Item
Collection items can appear in asides with thumbnails.
Click to view

Administration Building, University of Idaho, No. 30 The aside shows a preview of the item with a link to view it.
Copy this:
{% include essay/feature/aside.html
   objectid="demo_001"
   text="Context about this item" %}
Note: The objectid must exist in your collection metadata CSV file.
Media Galleries
Display collection items that, when clicked, open in a full-screen modal viewer.
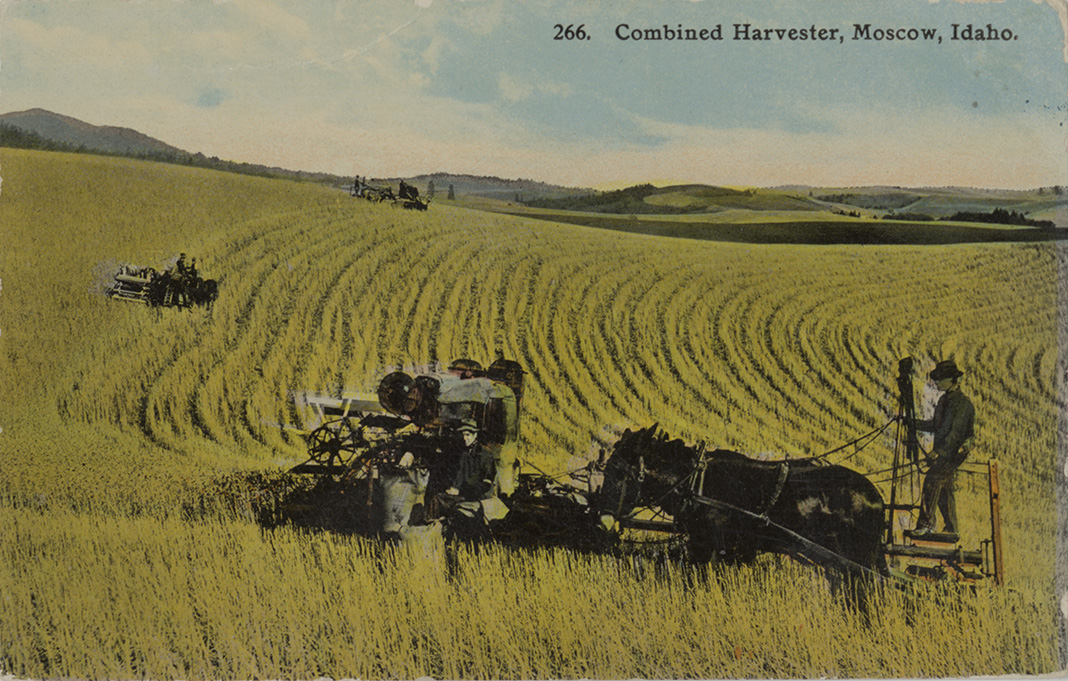

Copy this:
{% include essay/feature/image-gallery.html
   objectid="item1;item2;item3" %}
Gathering multiple pieces: Separate object IDs with semicolons (objectid="item1;item2;item3") to pull several items from your metadata into one gallery — the viewer lets readers step through all of them in sequence.
Mixed Media
The gallery isn’t limited to images — give it objectids for video, audio, or PDF items and it detects each one’s type automatically:

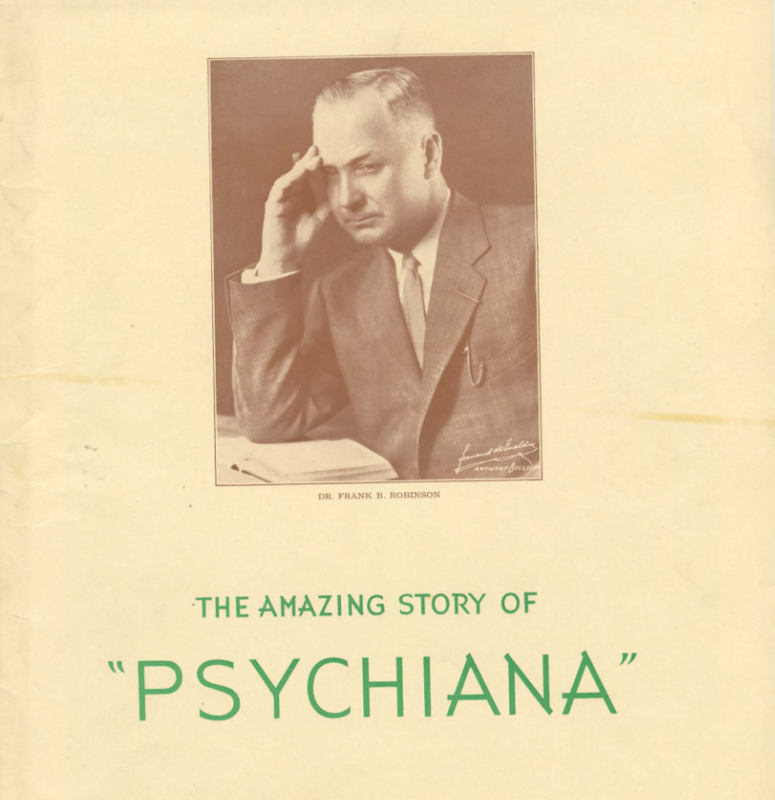
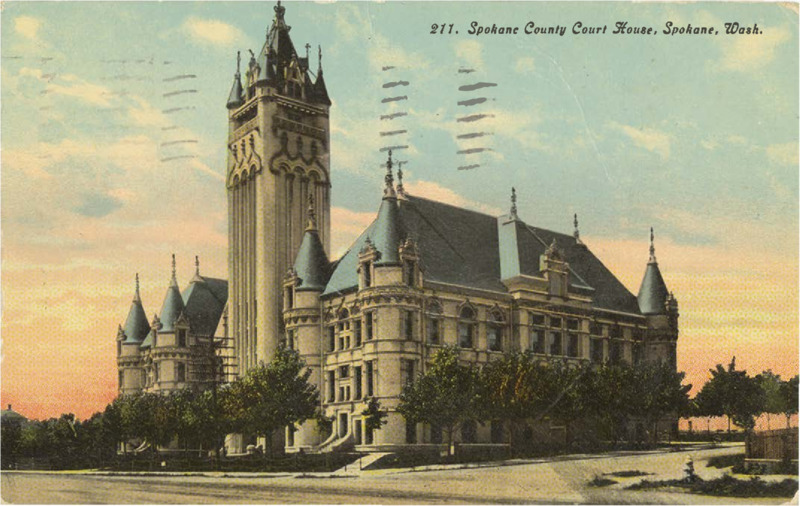
Copy this:
{% include essay/feature/image-gallery.html
   objectid="image_item;video_item;audio_item;pdf_item" %}
Items without a thumbnail (video, audio, PDF) render as a labeled placeholder; clicking opens the correct player — an HTML5 video/audio player or embedded PDF viewer — right in the modal. No separate include per media type needed.
External and Relative Images
objectid doesn’t have to point at your collection — a full URL or a relative path into your own /assets/ folder works too. In that case, always set alt text yourself, and you can add citation details with caption, title, source, and sourcelink:
{% include essay/feature/image-gallery.html
   objectid="/assets/img/writing-plan.jpg"
   alt="Group working on a farm plan writing project"
   caption="Group farm plan writing meeting"
   source="The New York Public Library Digital Collections"
   sourcelink="https://digitalcollections.nypl.org/items/1b0a3fc0-1d42-0139-bac7-0242ac110003" %}
Layout and Captions
width="25"/"50"/"75"/"100"sets the item’s width as a percentage of the container (always full-width on mobile).caption=false(no quotes) hides captions entirely — the same boolean-no-quotes pattern used byborder=falsebelow in Blockquotes.linkoverrides where an item’s image links to, if you don’t want the default (item page for collection items, the image file itself for external/relative ones).
Blockquotes
Styled quotations with optional attribution and source links.
Basic Blockquote
One begins as a student but becomes a friend of clouds
Copy this:
{% include essay/feature/blockquote.html
   quote="One begins as a student but becomes a friend of clouds"
   speaker="Lyn Hejinian" %}
With Source Citation
About suffering they were never wrong, The Old Masters
Copy this:
{% include essay/feature/blockquote.html
   quote="About suffering they were never wrong, The Old Masters"
   speaker="W. H. Auden"
   source="Musée des Beaux Arts" %}
Large Centered Quote with No Border
All, all can be lost
Copy this:
{% include essay/feature/blockquote.html
   quote="All, all can be lost"
   size="xl"
   speaker="Louise Glück"
   align="center"
   border=false %}
Size options: sm, md, lg, xl, xxl
Align options: left, center, right
Section Transitions
Create visual breaks between major sections using scrollama transitions.
New Major Section
The section break above creates a visual pause and scroll-triggered transition effect. This helps structure long essays into distinct parts.
Copy this:
{% include essay/new-section.html %}

## Your New Section Title

Content continues here...
Use sparingly - 3-4 sections per essay maximum for best effect.
Scrollytelling Blocks
Pin an image while narrative text panels scroll over it — the StoryMaps / scrolly-explainer pattern. Here’s a two-panel taste of it:
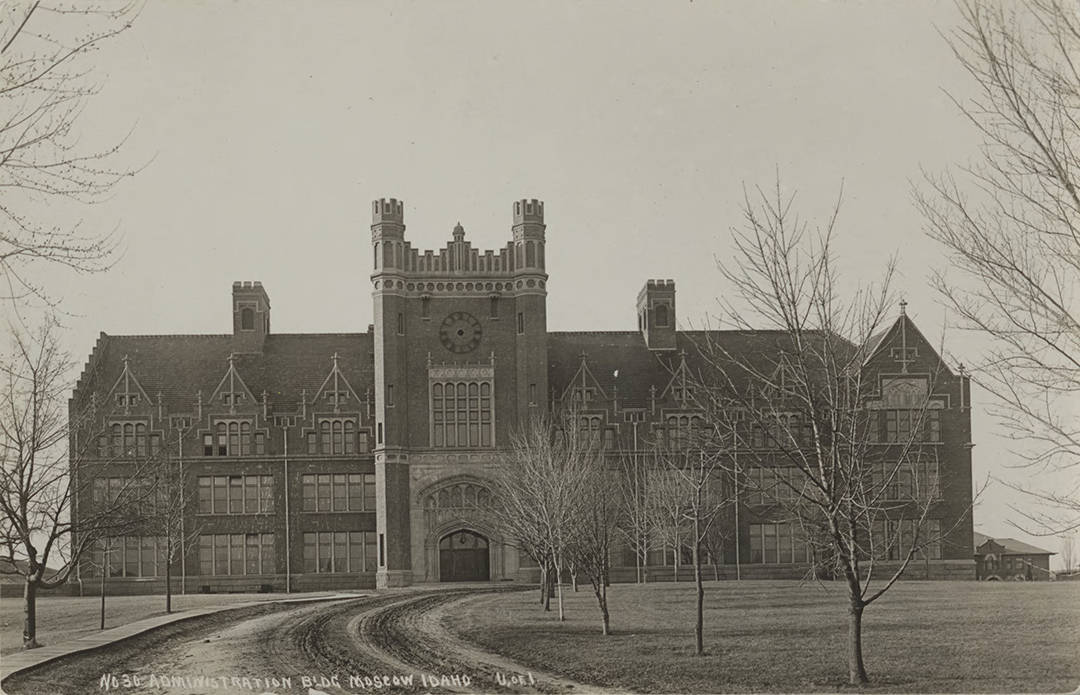
Panel 1. The image fills the frame while this text scrolls over it — no JavaScript wiring required on your end.
Panel 2. Scrolling into view swapped the image. You can keep adding panels, each optionally swapping to a new image.
{% include essay/feature/scrolly-media.html objectid="your_first_image" alt="Description" %}

First panel text.

{% include essay/feature/scrolly-step.html objectid="your_second_image" %}

Second panel text. Image swaps when this enters view.

{% include essay/feature/scrolly-end.html %}
This is the tip of the iceberg — zoom/pan/Ken Burns animation, sidecar layout, video and interactive map backgrounds, and full parameter tables all live in the next essays:
Scroll-Based Features → for a short overview, or jump straight to the Scrolly Media Gallery and Scrolly Map Gallery for every variant.
Timelines
For essays with chronological elements, embed the full timeline. This will display all the items from your underlying collection as a TimelineJS feature:
{% include feature/timelinejs.html %}
For more on how to customize this feature, see our CollectionBuilder documentation.
Subject Clouds
Visualize subject keywords from your collection:
{% include feature/cloud.html fields="subject" %}
For CollectionBuilder’s full feature set — browse, timeline, subject clouds, and metadata configuration — see the CollectionBuilder documentation.
Mini Maps
Embed small maps at specific coordinates.
Copy this:
{% include feature/mini-map.html
   latitude="46.727485"
   longitude="-117.014185"
   map-zoom="18"
   caption="This is the library where I work!" %}
Finding coordinates:
- Right-click location on Google Maps → Click coordinates to copy
- Or use LatLong.net
Zoom levels: 1 (world) to 18 (street level)
Aside Maps
A mini-map embeds inline; an aside map instead puts a small pin button in the margin that opens a full interactive map in a modal — useful when you want to mention a location without breaking up the page with an embedded map.
Here’s Hell’s Half Acre Lookout.
Hell’s Half Acre Lookout
Click the pin to open the modal.
Copy this:
{% include essay/feature/aside-map.html
   latitude="45.64579"
   longitude="-114.62838"
   location="Hell's Half Acre Lookout"
   map-zoom="12" %}
You can also seed it from a collection item’s coordinates with objectid, customize the trigger with button and color, and add a “View on Full Map” link with map-link=true:
{% include essay/feature/aside-map.html
   objectid="demo_008"
   button="View Location"
   color="primary"
   map-link=true %}
Combining Features
You can combine multiple features for rich, scholarly presentations — mixing essay-only and site-wide includes freely:
Example: Blockquote + Aside + Map
I went to the woods because I wished to live deliberately
Thoreau’s cabin was located on the shores of Walden PondThe cabin measured 10 feet by 15 feet and cost $28.12 to build. in Concord, Massachusetts, where he lived from 1845 to 1847.
The location provided the solitude Thoreau sought for his philosophical experiment in simple living.
Print & PDF Output
Most features work in print PDFs. Blockquotes, asides, images, and section breaks all render beautifully. Mini-maps and videos are web-only and won’t appear in print.
Visit the Print Hub to generate PDFs in Letter, A4, or 6×9″ formats. See the Print Guide for complete details including margin note styles, page formats, and accessibility features.
Next Steps
Scroll-Based Features → for scrollytelling, or skip ahead to Publishing, Printing & Reading →.
You can also get answers to your questions with our online documentation.
Ready to put these features to use? Start your own project.
Use This Template →Scroll-Based Features
CB-Essay’s scrollytelling blocks pin an image (or map) in the viewport while narrative panels scroll over or beside it. Every block follows the same three-include pattern:
{% include essay/feature/scrolly-media.html objectid="your_image" %}

First panel text.

{% include essay/feature/scrolly-step.html objectid="next_image" %}

Second panel text.

{% include essay/feature/scrolly-end.html %}
Immersive Layout
The immersive layout fills the full viewport with a pinned image. Panels float over it in frosted cards. Scroll slowly and watch the panel fade in when it crosses the trigger line.
Left panel is the default. The card appears on the left side of the frame with a light semi-transparent background.
Center panel. Add position="center" to center the card — useful for brief captions or dramatic statements.
Right panel with dark card. position="right" text-background="dark" shifts the card right and inverts it. The image swaps as this panel enters view.
Sidecar Layout
The sidecar layout pins the image on the right at a smaller scale while text panels scroll on the left, instead of full-bleed over the image. Good for objects with multiple sides or facing pages.
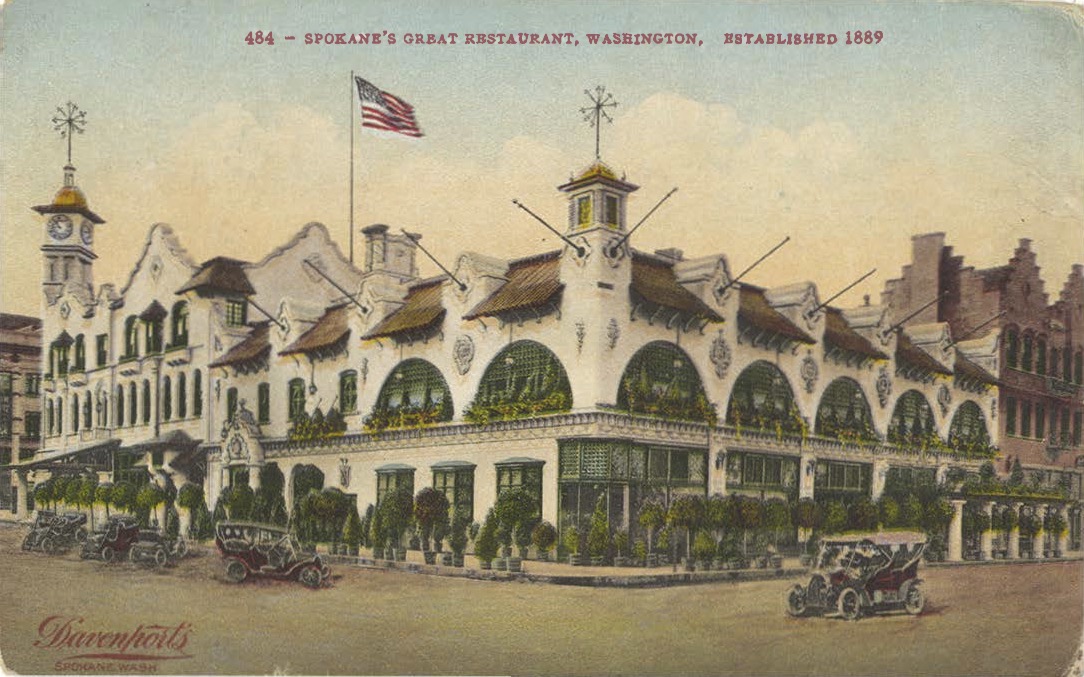
The front of an archival postcard, pinned on the right while this text scrolls on the left.
The reverse side. Swapping images in sidecar feels like turning a page.
Map Background
Swap scrolly-media.html for scrolly-map.html to pin an interactive Leaflet map instead of an image — steps fly, pan, or jump between locations as they scroll into view.
Moscow, Idaho → Hell's Half Acre Lookout
Starting over the University of Idaho campus in Moscow, Idaho.
The map flies to Hell’s Half Acre Lookout, roughly 100 miles southeast, as this panel enters view — no page reload, just an animated flyTo.
What Else Is Possible
That’s the whole mechanism — everything past this point is a variation on those same three includes, including the sidecar and map patterns demonstrated above:
- Animation —
animate="zoom-in",zoom-out,pan-left,pan-right, orken-burnsadds scroll-linked motion to the pinned image. image-focus— targets which part of the image stays in frame, and where zoom animations pull toward.- Video backgrounds — swap in a
.mp4/.webm/.oggfile or a video collection item; it autoplays, loops, and is muted. step-height— controls how far a reader scrolls before the next panel triggers, per block or per panel.- More map options — basemap switching mid-scroll, curated or collection-wide markers with auto-opening popups, and interactive sidecar maps the reader can drag and zoom.
Each of these gets a full live demonstration, one variant at a time, in the two galleries below:
→ Scrolly Media Gallery — every animation, image-focus, sidecar, and video variant, live, with full parameter tables and copy-paste code.
→ Scrolly Map Gallery — every map transition, basemap switch, and marker option, live, with full parameter tables and copy-paste code.
For the condensed parameter reference without the live demos, see the Scrollytelling section of the documentation.
Next Steps
Publishing, Printing & Reading
Writing an essay is only half of it — this page covers every way a reader can actually encounter your finished work: on the web, in search results, in print, and on paper or an e-reader.
Print & PDF
Every essay generates a print-ready page automatically using Paged.js, no separate export step required. Visit the Print Hub to print an individual essay or build a custom multi-essay book, in Letter, A4, or 6×9″ trim sizes.
Configure what’s available in the print: block of _data/theme.yml — author and institution for the cover page, whether individual-essay and full-book printing are offered, and whether margin notes render as floating gutter asides (aside-style: margin) or inline callout blocks (aside-style: inline). See the Print Guide for the complete option list.
Most content prints beautifully — blockquotes, asides, images, and section breaks all render. Mini-maps and videos are web-only and won’t appear in the PDF.
Search
Every essay gets full-text search automatically at /search/, powered by FlexSearch running entirely in the reader’s browser — no server required, and it works the same on GitHub Pages as anywhere else.
Search results are grouped by chapter with occurrence counts and highlighted context snippets, sortable by relevance, alphabetically, or by reading order. From an essay page, search can be scoped to just that essay or across the whole site; clicking a result jumps straight to the match and highlights it on arrival.
Any page opts in with text_search: true in its front matter — essays have this on by default. The index is chunked by heading (##, ### by default), so results point to the specific section a match was found in, not just the top of the essay.
Publishing Options
You have the same options as you would for any CollectionBuilder site:
Publish free, on GitHub Pages. The default path — push to your repository and GitHub builds and hosts the site for free at username.github.io/repository-name. Covered step by step in Get Started, Step 7.
Use your own domain. Add a CNAME file with your domain name to the repository root and point your DNS at GitHub Pages — the site keeps building for free, just under your own URL. See GitHub’s custom domain docs.
Use your own server. CB-Essay is a static site — nothing about it requires GitHub. Run rake deploy and upload the resulting _site/ folder to any web host, institutional server, or storage bucket that serves static files.
For more information, see our CollectionBuilder documentation pages.
Reading on an E-Reader
CB-Essay doesn’t generate EPUB files directly; if you need one, the print PDF is the best starting point for conversion. These PDFs however, are designed for a solid reading experience and can be shared with a Kindle or other e-reader.
Sharing & Discovery
In production, every essay and item page gets Open Graph and Schema.org metadata automatically, so links shared on social media and in messaging apps show a proper title, description, and preview image. Set title and description in _config.yml and featured-image in _data/theme.yml to control how the site itself appears in search results and link previews.
Next Steps
You’ve reached the end of the tour — you now know how to write, illustrate, style, and publish a CB-Essay project. For anything not covered here, the online documentation is comprehensive and searchable.
You've seen everything CB-Essay can do. Now build something of your own.
Use This Template →