Creating Object Derivatives
This walkthrough builds off the CollectionBuilder-CSV Walkthrough to provide steps for adding objects directly to your repository, generating thumb and small object derivatives using CollectionBuilder-CSV’s built-in rake tasks, and updating your metadata spreadsheet to include these derivatives.
Important! To complete this walkthrough, you will need to install ImageMagick and Ghostscript on your computer. This software will enable you to use the rake generate_derivatives command in Step 3.
1. Complete steps 1 through 5 of the CSV Walkthrough.
2. Edit the .gitignore file
By default the “objects” folder is gitignored in the CB-CSV template to avoid the drawbacks of tracking binary files in Git and the size limitations on GitHub.
It is possible to commit your “objects” folder and host them directly on GitHub (like CB-GH). Please be aware that GitHub repositories have soft limits on total size of approximately 1 GB–a good rule of thumb is to keep your “objects” folder less than 500 MB. By default the CB-CSV “objects” folder is gitignored! You will have to un-ignore the folder to commit your object files (see below).
Object Hosting and Guidelines: Object files for CB-CSV collections are generally not committed directly into the project repository – instead, files are usually managed/stored on an external server. Learn more in our Objects for CSV documentation.
To commit your object files directly into your GitHub repository you will need to edit your project’s “.gitignore” file.
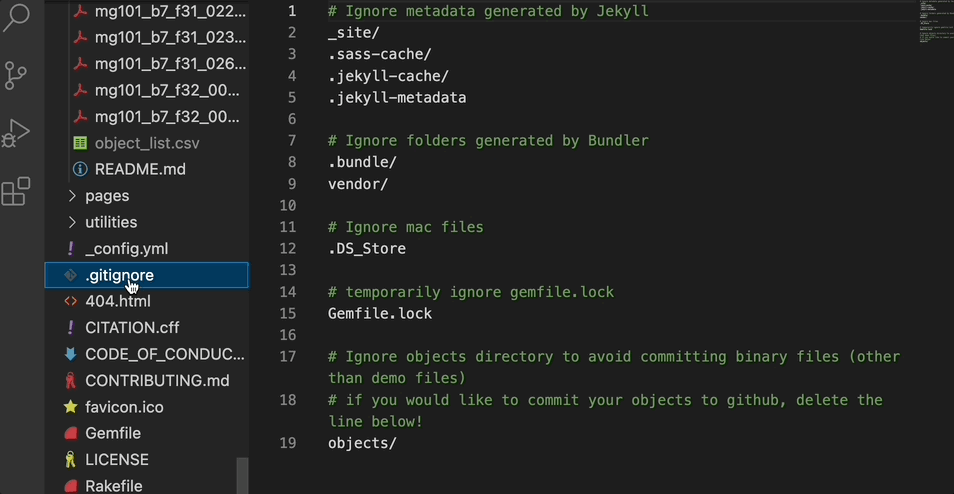
In your project repository, open “.gitignore” in Visual Studio Code (VS Code).
Look for the last line which reads objects/. Delete this line (or comment it out by adding a # in front).
- Save your changes with Ctrl + S or by clicking File → Save.
Note: Any changes you make to your “objects” folder will now appear in your Source Control panel on VS Code where you can commit and sync your changes.
3. Commit your changes using VS Code
In VS Code, click on the Source Control icon, i.e. the network icon on the left side, or press Ctrl + Shift + G.
Changed files will be listed under Changes. Hover over the file name and click on the plus icon to add individual files, or hover next to Changes and click on the plus icon to add all. Once added, the files will move to a new list called Staged Changes which are ready to commit.
Click in the text box at the top labeled Message. Type your commit message into the box (e.g. Edit gitignore file).
Click the blue Commit button below the message box to commit the change.
4. Add your object files to the “objects/” folder
Download the demo-objects.zip file (includes image files, PDFs, and mp3s). Double click on this file to unzip it.
In VS Code, click on the “objects” folder on the left. This is where you will be putting all of your objects.
Find the unzipped demo-objects folder (most likely in Downloads or on the Desktop) and open the folder.
Warning: Make sure to select all the object files in the demo-objects folder instead of just adding the demo-objects.zip file or the demo-objects folder.
- Drag your mouse down the list of files to select all the objects to add to your repository. Then drag the selected objects into the objects folder, right underneath the folder called “thumbs.”

- Follow the same instructions (from Step 3) to commit your changes in VS Code. Your commit message might be something like, “Add objects.”
5. Run the rake derivatives task
- CB-CSV’s “generate_derivatives” rake task automates creating a small and thumb image from all images and PDFs contained within the “objects/” directory in your project repository. It automatically outputs the derivatives to “objects/small/” and “objects/thumbs/” folders.
Want to learn more about the generate derivatives rake task? Check out our documentation on generating thumb and small object derivatives.
- To run the generate derivatives rake task, navigate to your project repository in VS Code and open a terminal by clicking Terminal in the top menu bar and then “New Terminal.”
- Type the command “rake generate_derivatives”

Generating derivatives might take awhile if you are working on a large collection.
Check the terminal for messages from the task–it will alert you about any errors or files skipped (if there are duplicates, for instance). When the task is complete, your terminal’s command prompt will return.
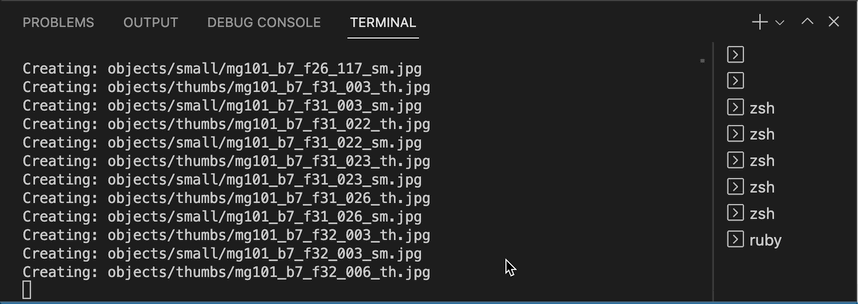
You should be able to see your newly-generated derivatives in your repository’s “objects/small/” and “objects/thumbs/” folders.
Follow the same instructions (from Step 3) to commit your changes in VS Code. Your commit message might be something like, “Add object derivatives.”
6. Push your changes to GitHub using VS Code
To Push all your committed local changes up to GitHub, click on the Source Control icon, i.e. the network icon on the left side, or press Ctrl + Shift + G.
Then click the blue Sync Changes button. This will sync your local changes with the GitHub repository.
7. Add image_small metadata in Google Sheets
- Make a copy of this Google Sheet of premade demo metadata: Object Derivatives Example Metadata
Google Sheets tip: An Ampersand operator is a synonym for the CONCATENATE() function which joins together two strings within one cell. We will use this function to populate the image_small and image_thumb fields.
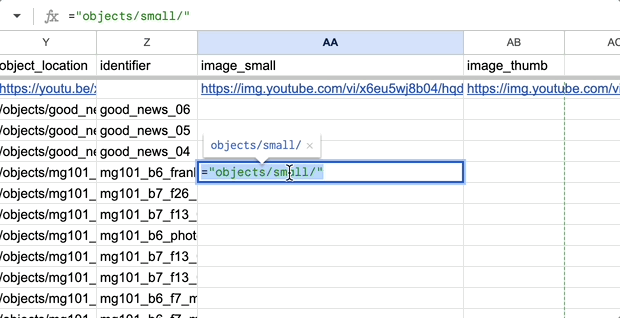
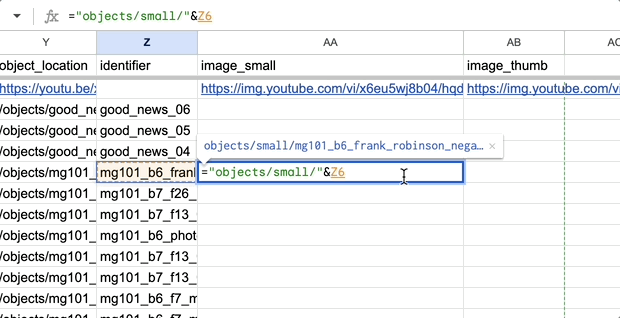
- Click in the sixth row of the image_small column. In this cell, type
="/objects/small/"&and then click on the cell in the sixth row of the identifier column. The cell contents should now be="/objects/small/"&R6
- Next type,
&"_sm.jpg"and press Enter. The cell contents should now be"/objects/small/mg101_b6_frank_robinson_negatives_009_sm.jpg"
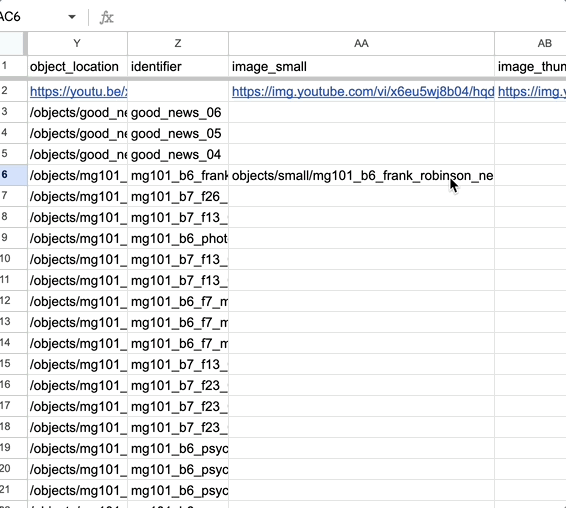
- Next, hover over the blue dot at the bottom right of the cell and you should see your cursor turn into a cross. Click the blue dot and drag down the column all the way to row 68. This will copy the formula into the entire column.
- However, right now the values in the cells are still formulas. To get rid of the formulas, first, copy the contents by clicking and dragging down the column (from row 6 to 68) and press Ctrl + C. Or, right click in the selected cells and then click Copy.
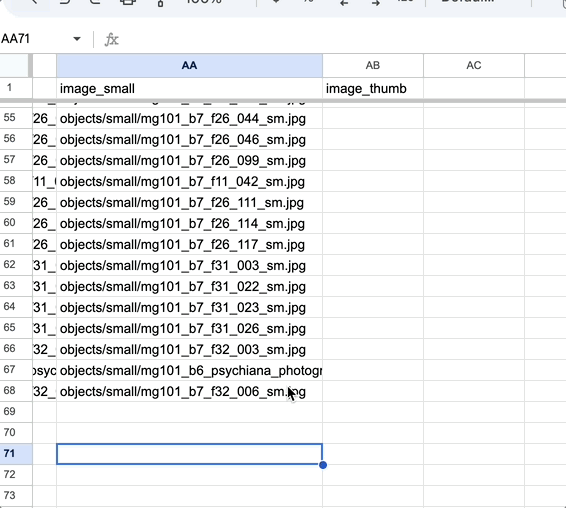
- Next, right click in the selected cells and click Paste special and then Values only. This will paste just the values rather than the formulas.

8. Add image_thumb metadata in Google Sheets
Click in the sixth row of the image_thumb column. In this cell, type
="/objects/thumbs/"&and then click on the cell in the sixth row of the identifier column. The cell contents should now be="/objects/thumbs/"&R6.Next type,
&"_th.jpg"and press Enter. You should now see"/objects/thumbs/mg101_b6_frank_robinson_negatives_009_th.jpg"in the cell.Follow the same steps you did for adding the image_small metadata (hover over the blue dot and drag the formula down the column, copy the contents of the cells, and then paste the values only)
Pro Tip: To save yourself time, you can put both formulas in the image_small and image_thumb cells and then select both and drag them down at the same time. You can also select both columns, copy their contents, and paste them as values only at the same time.
9. Use API recipes to create derivatives for YouTube video objects (if necessary)
- If you have YouTube videos in your collection, the “image_small” and “image_thumb” fields can be filled in using YouTube’s image API.
Please note: The metadata sheet that you made a copy of already has these values filled in for the only YouTube video object in the example collection, so you do not need to fill them in.
To fill in the “image_small” field, use this recipe for a 480x360 image: https://img.youtube.com/vi/[youtubeid]/hqdefault.jpg
- Example: https://img.youtube.com/vi/x6eu5wj8b04/hqdefault.jpg
To fill in the “image_thumb” field, use this recipe for a 320x180 image: https://img.youtube.com/vi/[youtubeid]/mqdefault.jpg
- Example: https://img.youtube.com/vi/x6eu5wj8b04/mqdefault.jpg
What about MP3s and MP4s? MP3 and MP4 files will not have anything in the image_small and image_thumb cells. However, CollectionBuilder will generate icons for these files based on their format.
10. Prepare your metadata for upload
Download the metadata spreadsheet as a .csv file by clicking File → Download → Comma Separated Values (.csv)
Locate the file in the Downloads folder on your computer.
Warning: Do not open the CSV file to avoid issues with Microsoft Excel scrambling your UTF-8 encoding. Excel cannot correctly export a CSV for use with CollectionBuilder. It’s super annoying! We know!
- Without opening the file, rename it using all lowercase letters, no spaces, and no special characters. For example: “demo-repository.csv”
Other Ways to Generate Filenames for Object Derivatives
Using the file listing option found in our Object Utilities documentation to generate a list of filenames
Using the object-list.csv found in the project’s objects folder. If you use the Rake generate_derivatives task for processing local items, it will automatically output an “object_list.csv” in the objects folder containing the object_location, image_small, and image_thumb values for all files processed.
Using the “=split()” function in Google Sheets to split the content on a period to remove the file extension and get just the filename.
- Example: This formula
="/small/"&index(SPLIT(Z15,"."), 1)&"_sm.jpg"will generate the correct small object filename from the object_location field
- Example: This formula
11. Complete steps 8 through 18 of the CSV Walkthrough.
- If you are interested in finishing your collection site setup with the custom metadata you created, return to the CSV Walkthrough and complete steps 8 through 18.